Nikon F SLR restoration
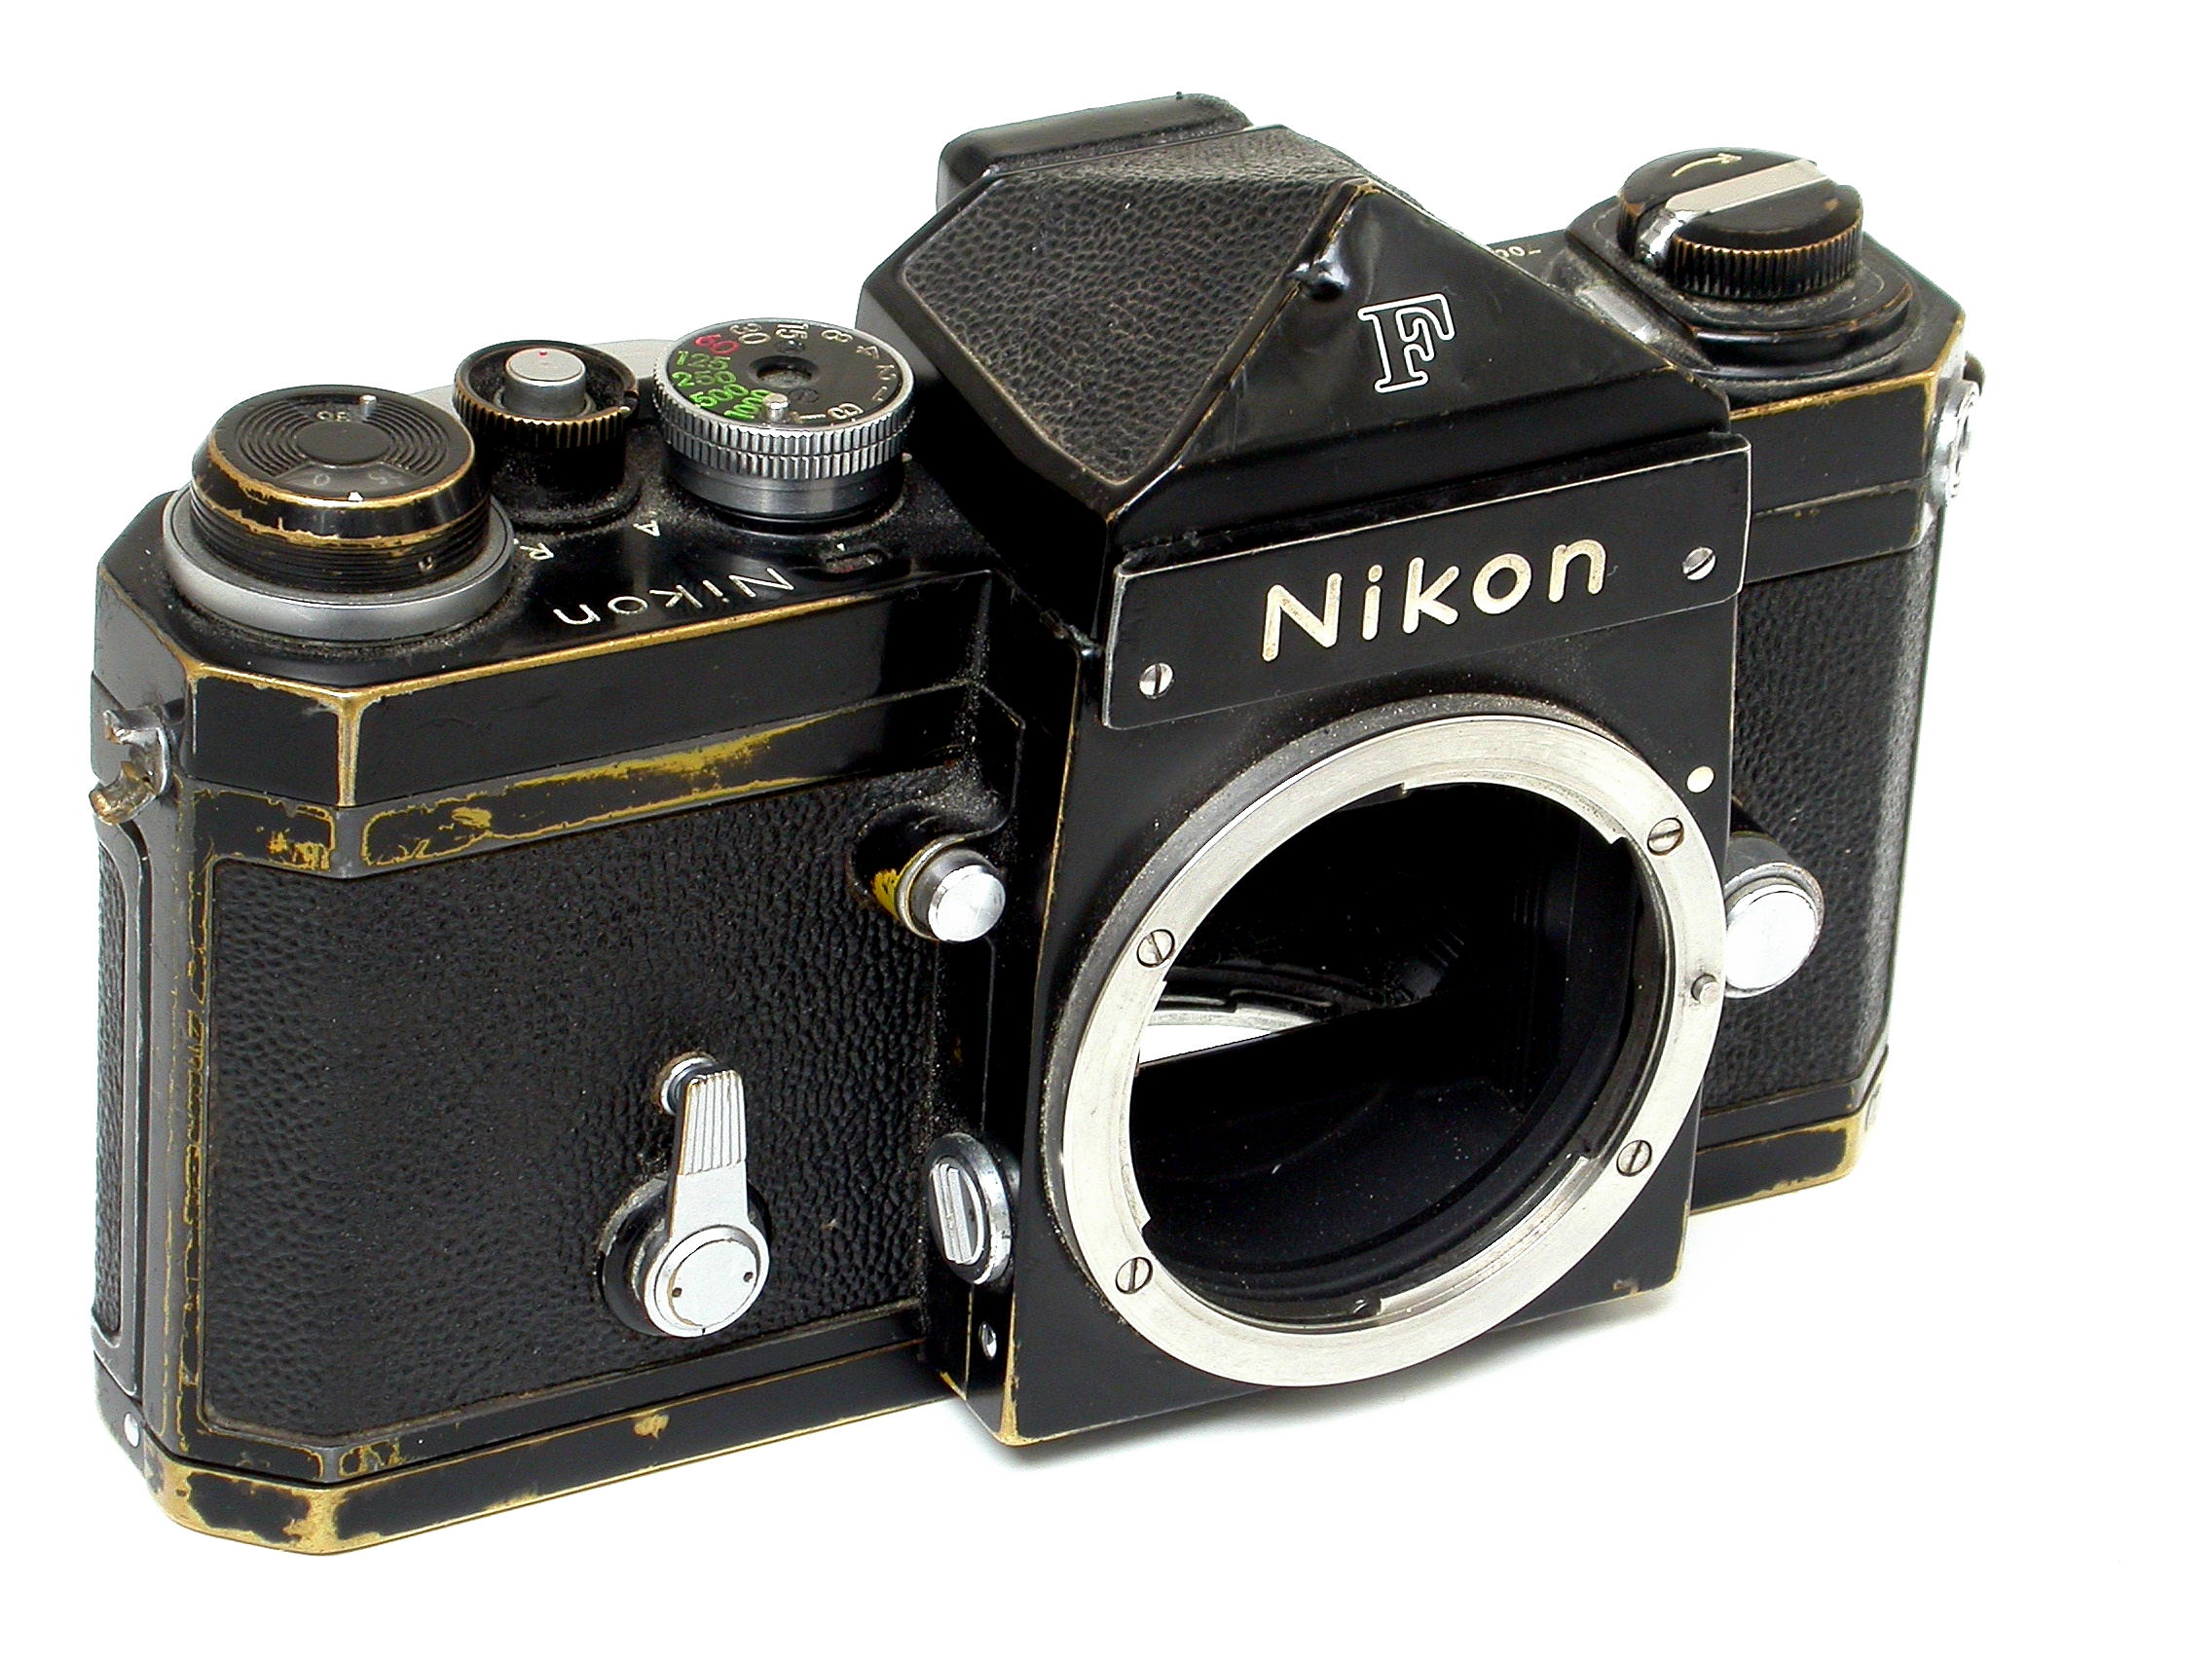
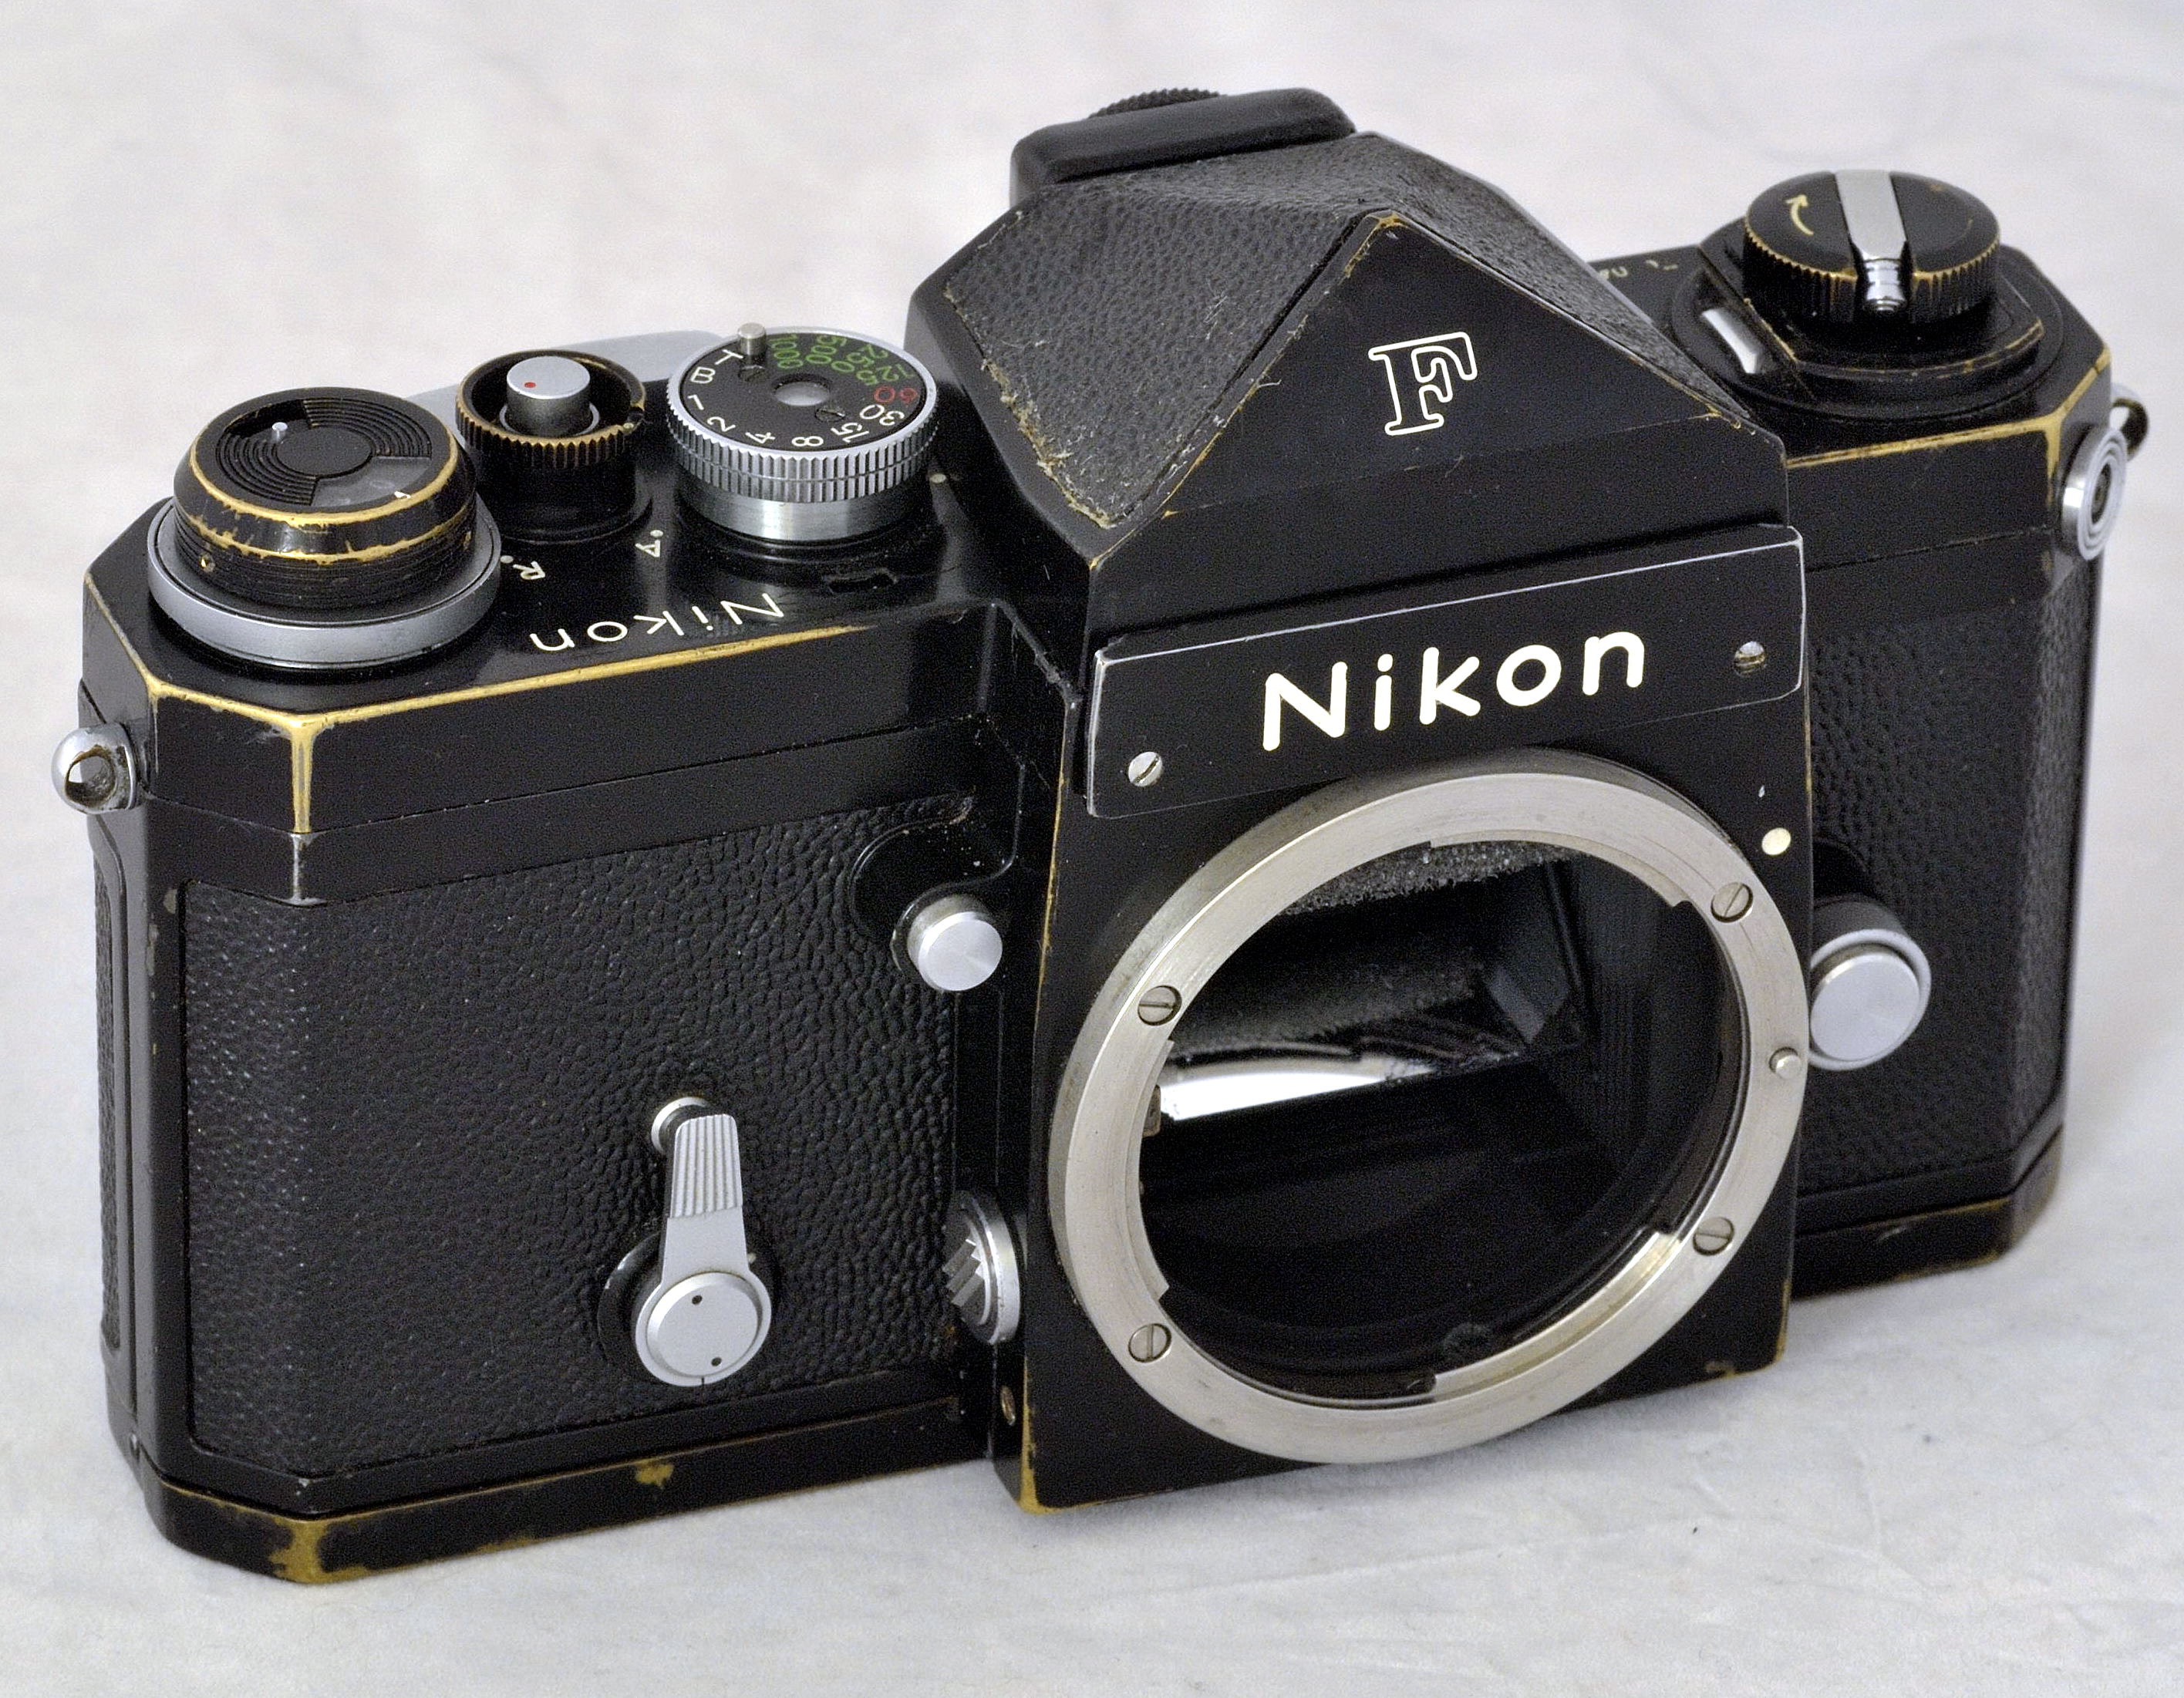
The victim camera is the black Nikon F - built in December 1969 - of Philips´ staff photographer Ber van der Vleut
The camera will be cleaned first and all dents and bumps will be repaired. Goal is to keep the camera authentic and full operational. (For the fully restored version scroll down to this page bottom.)
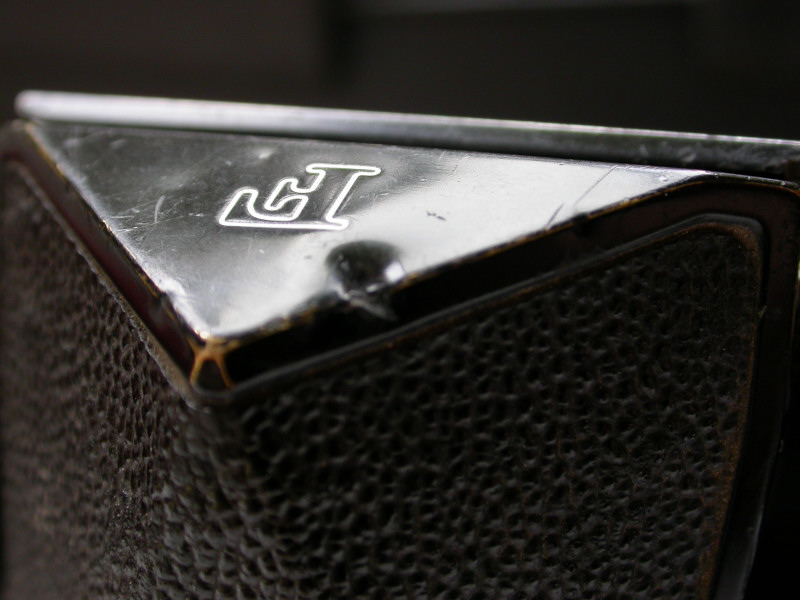
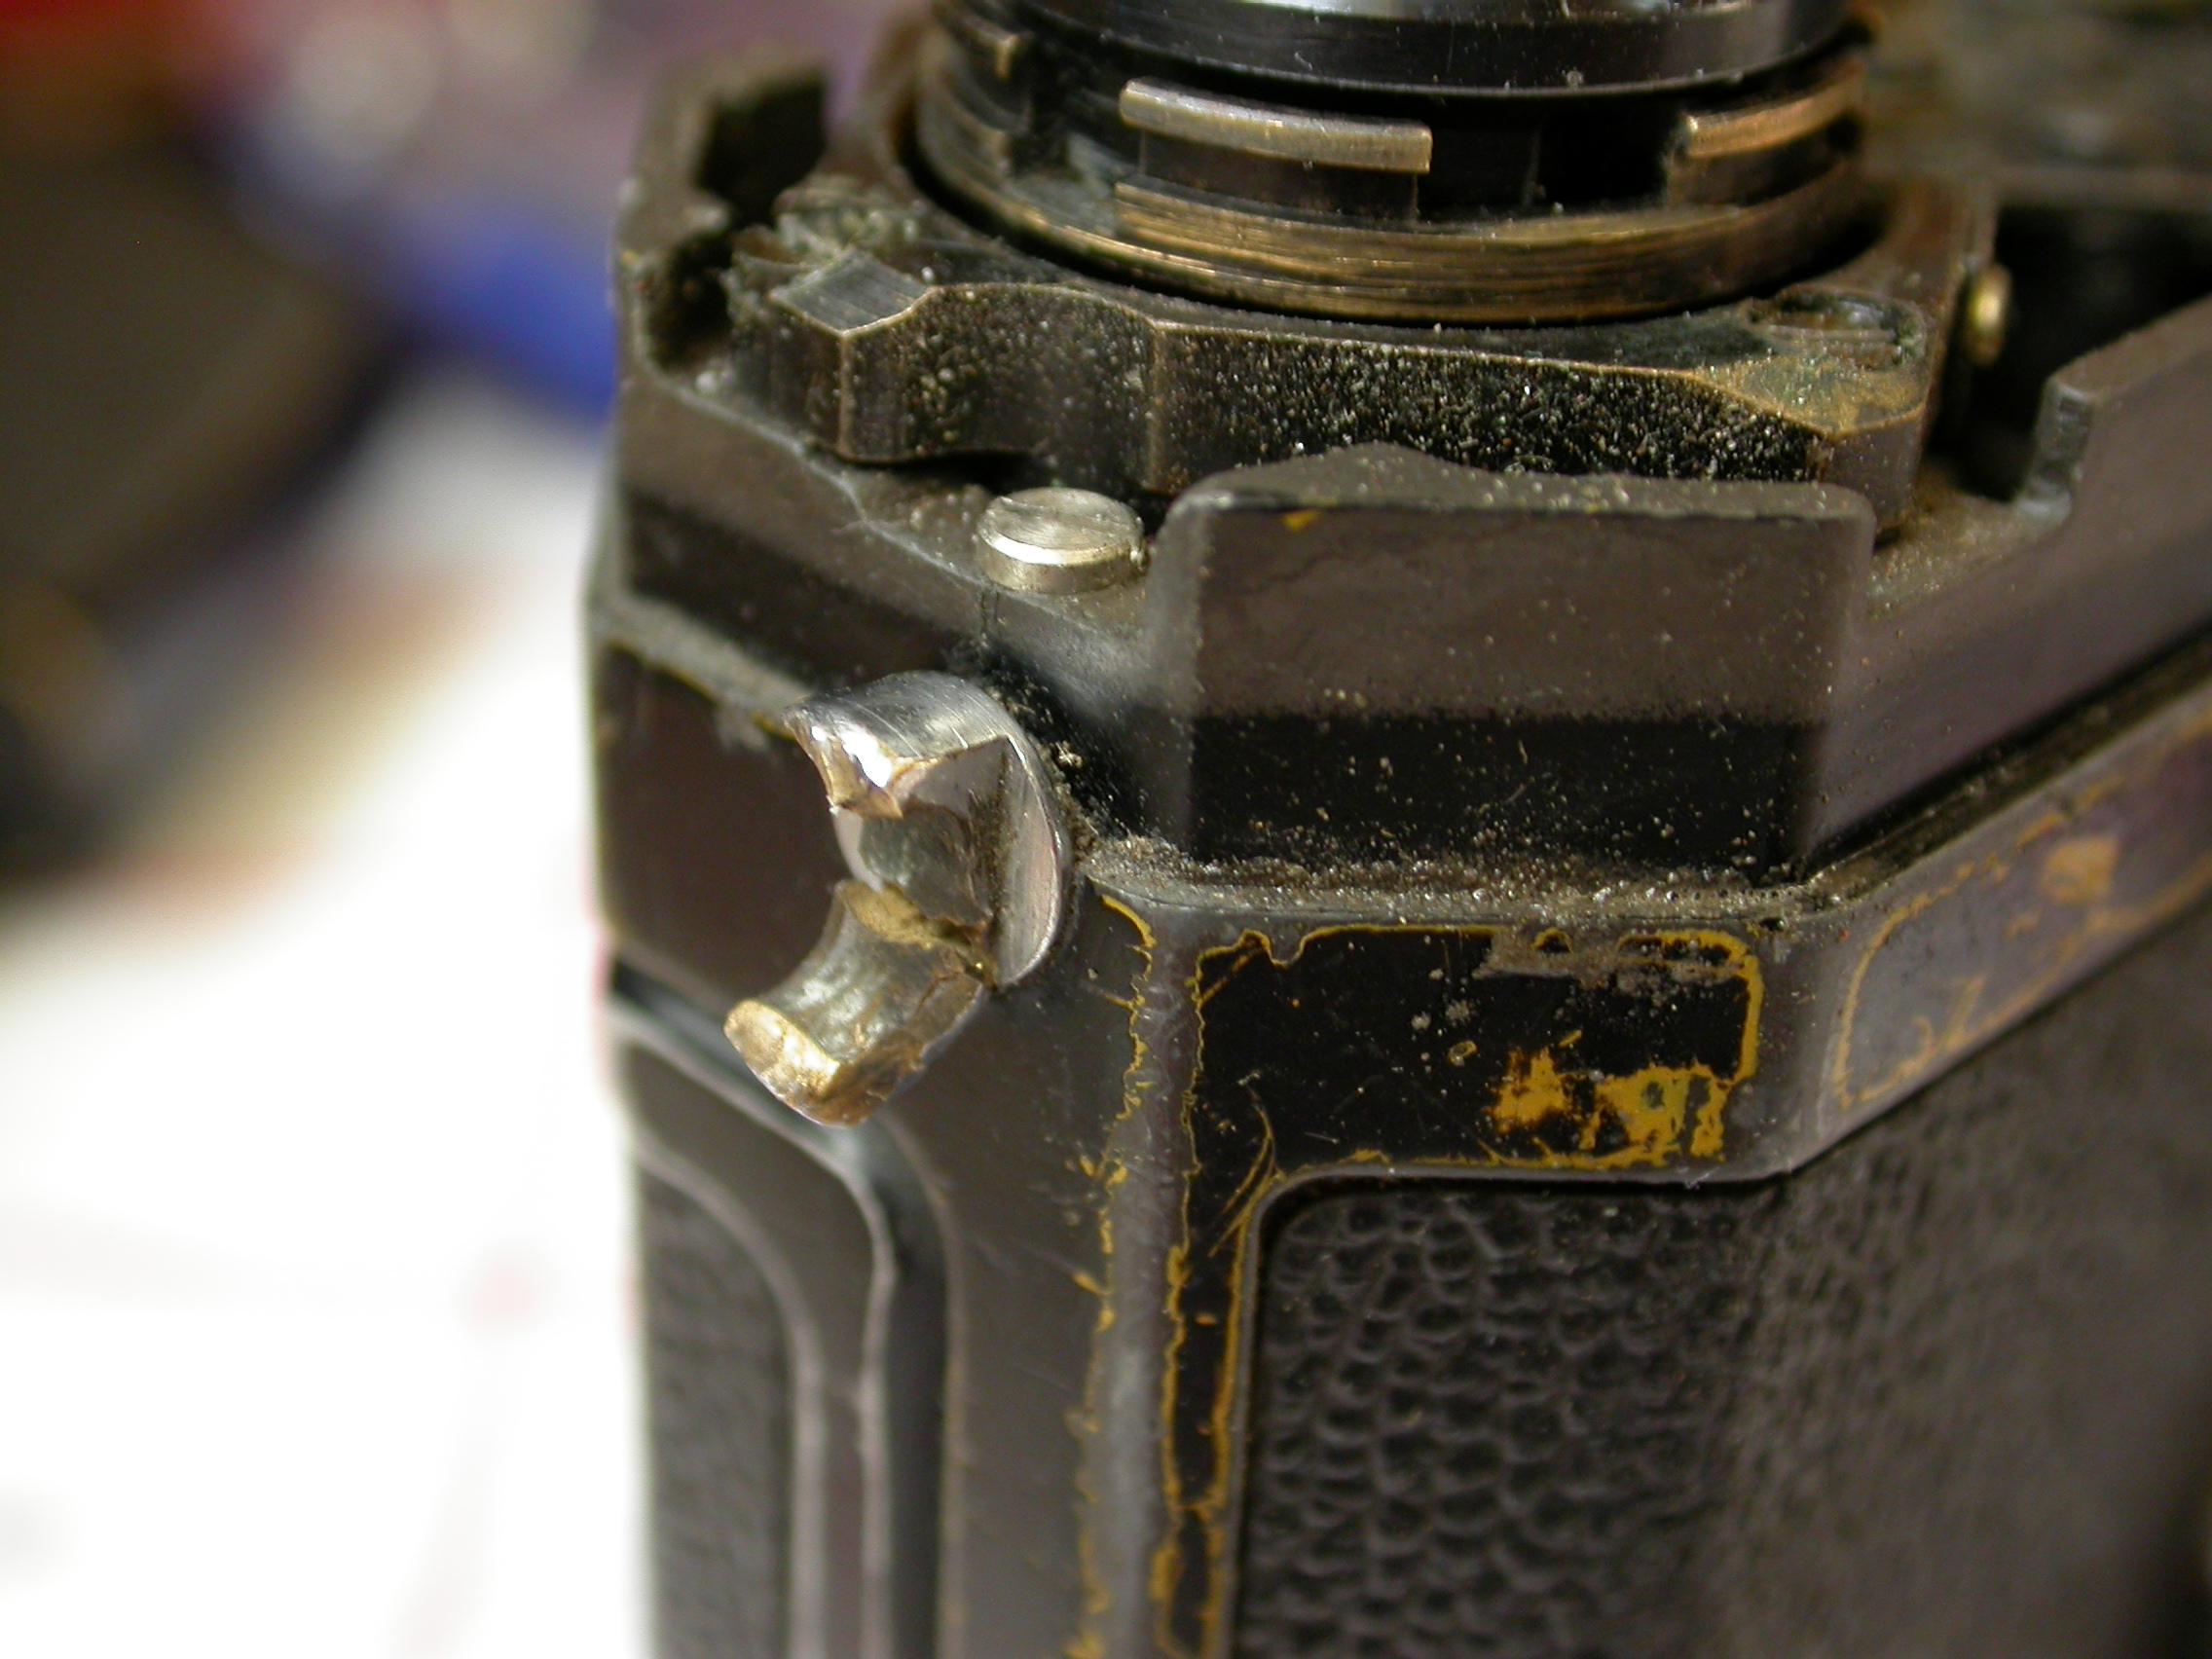
This dent has to be removed
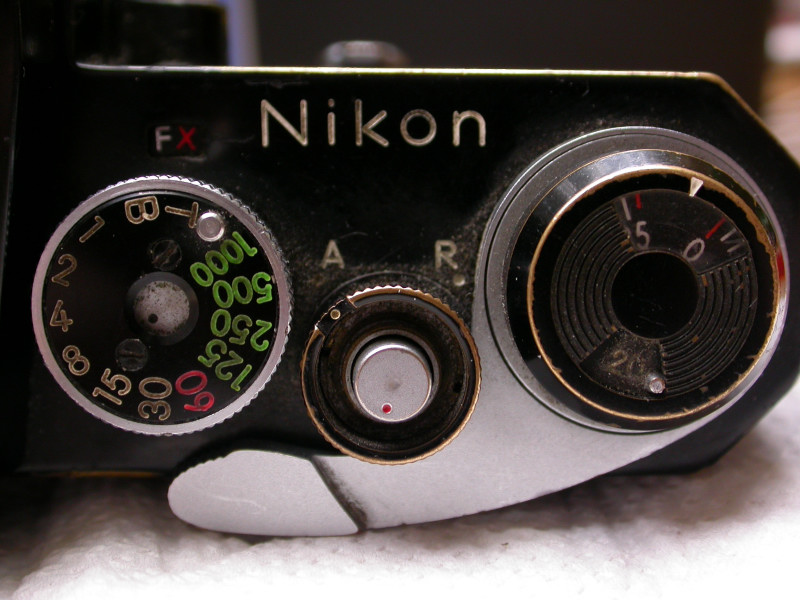
Cleaning is absolutely necessary,
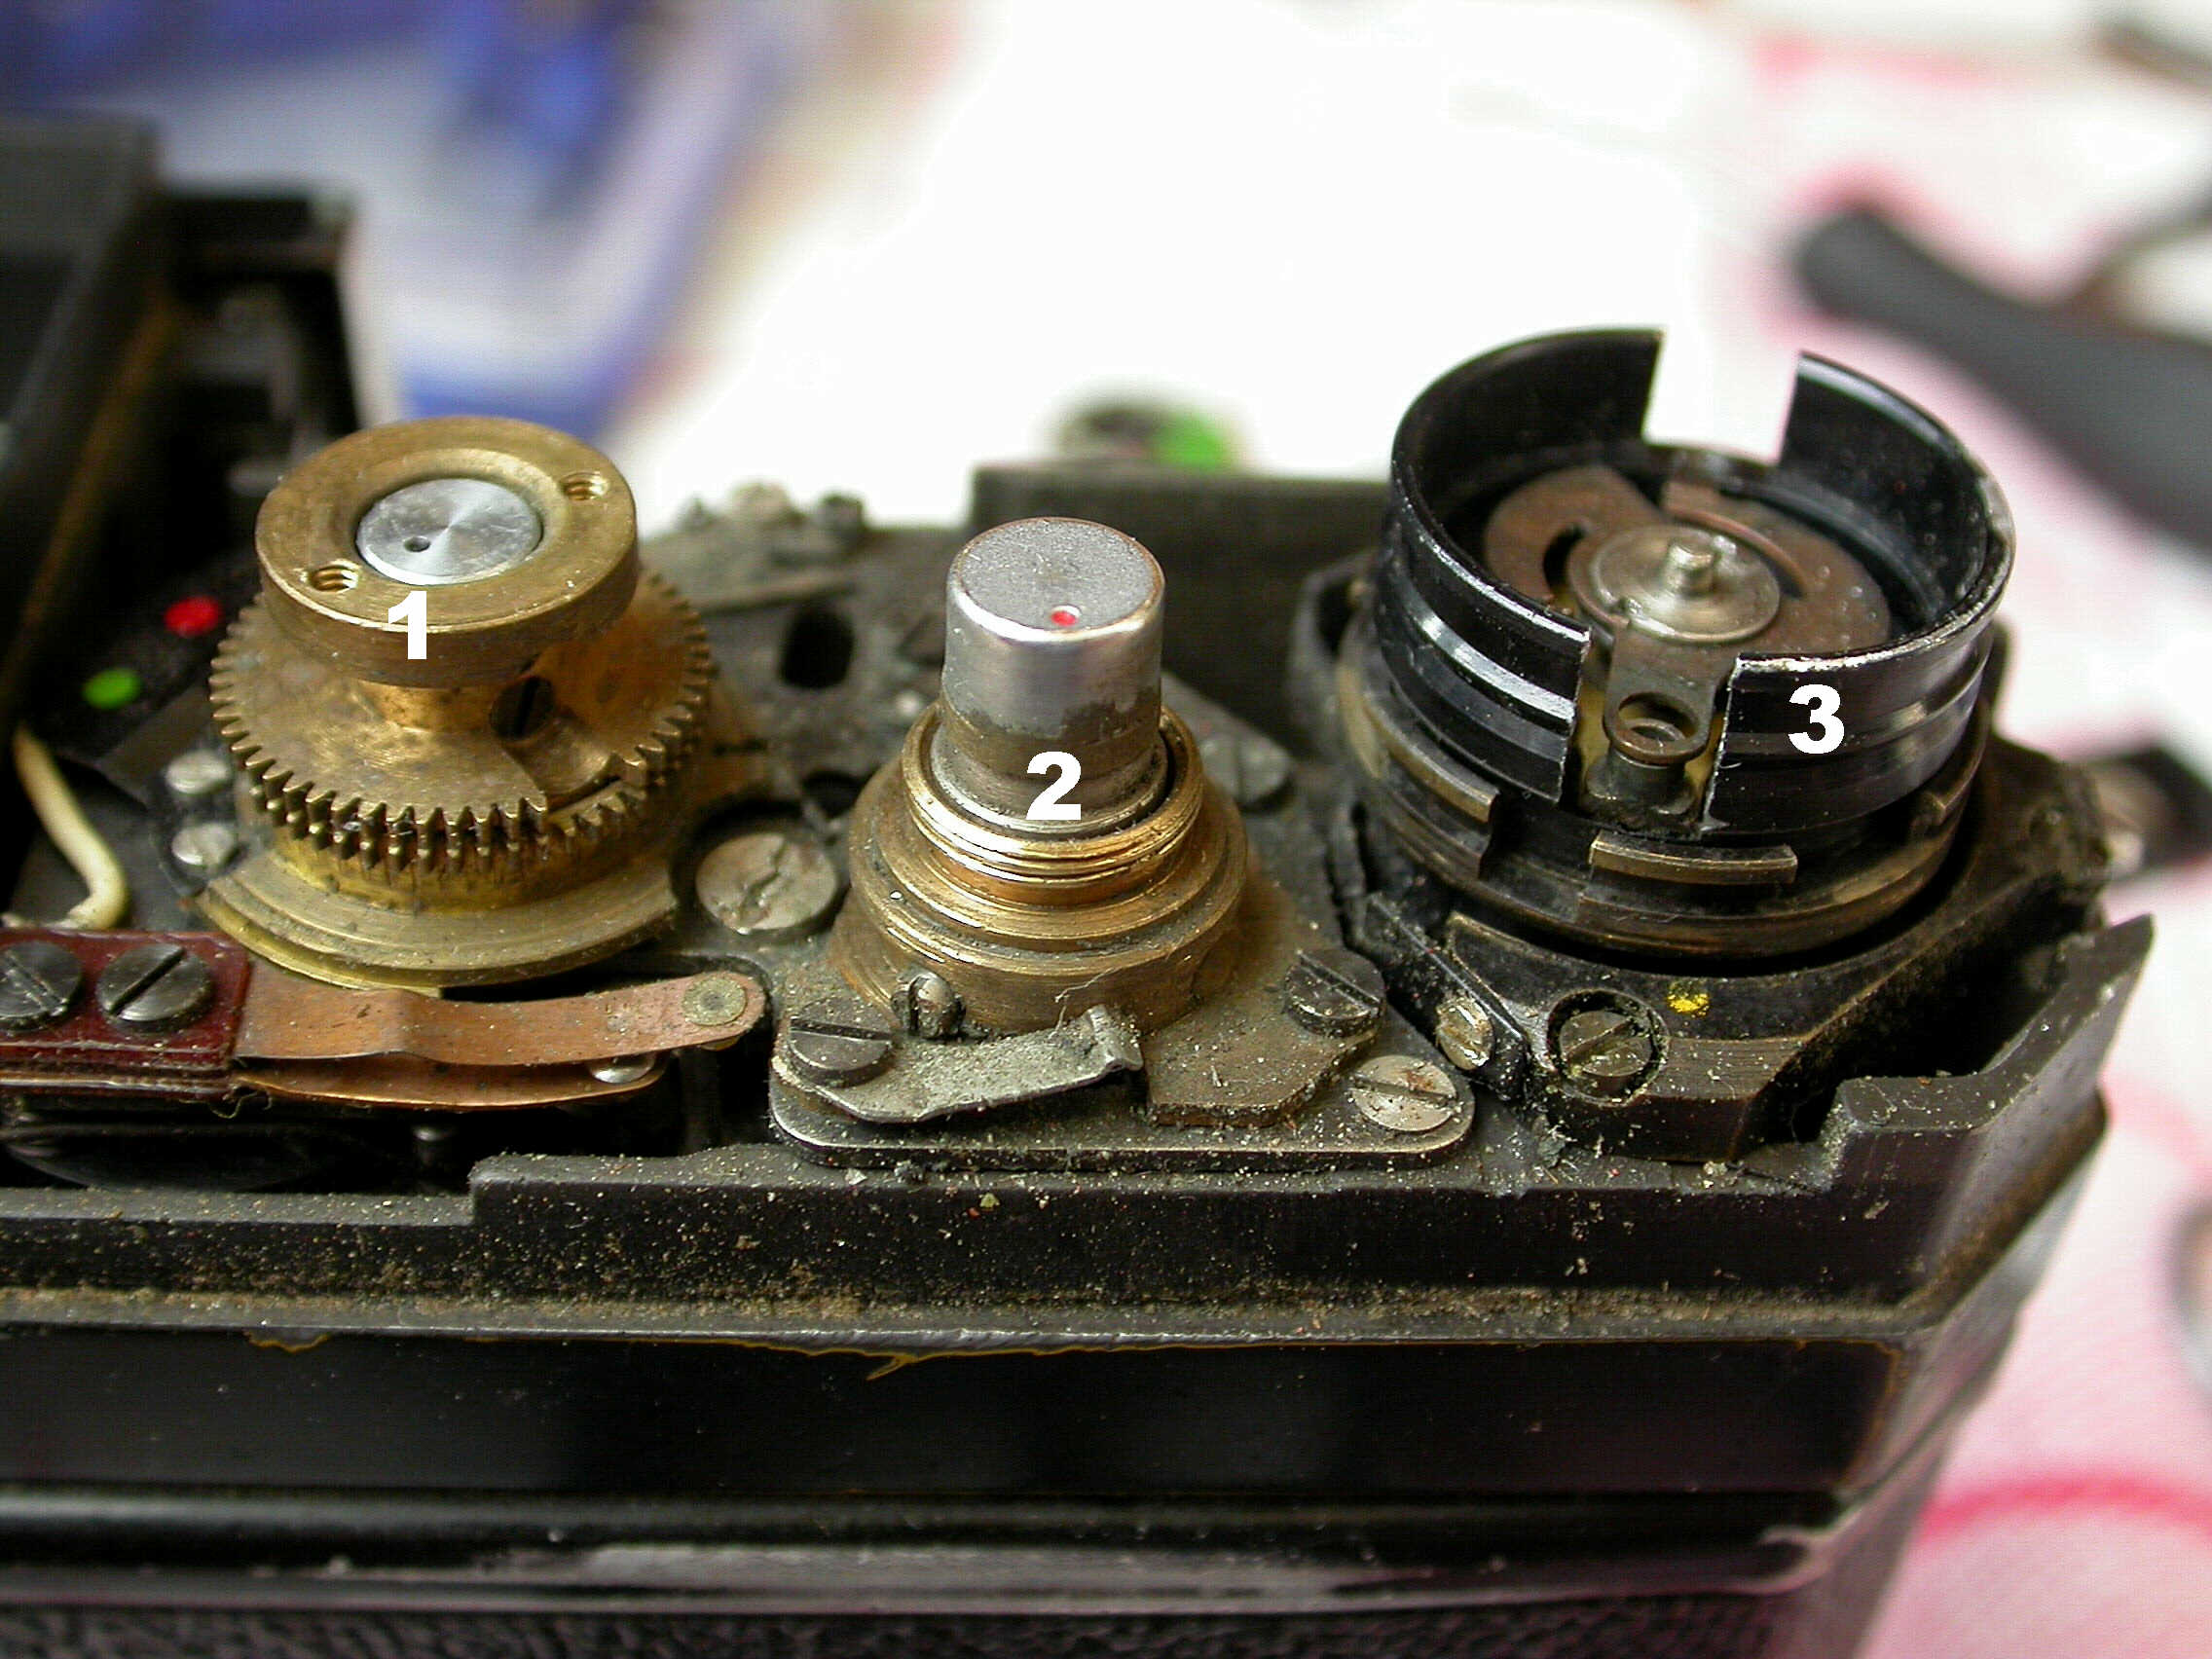
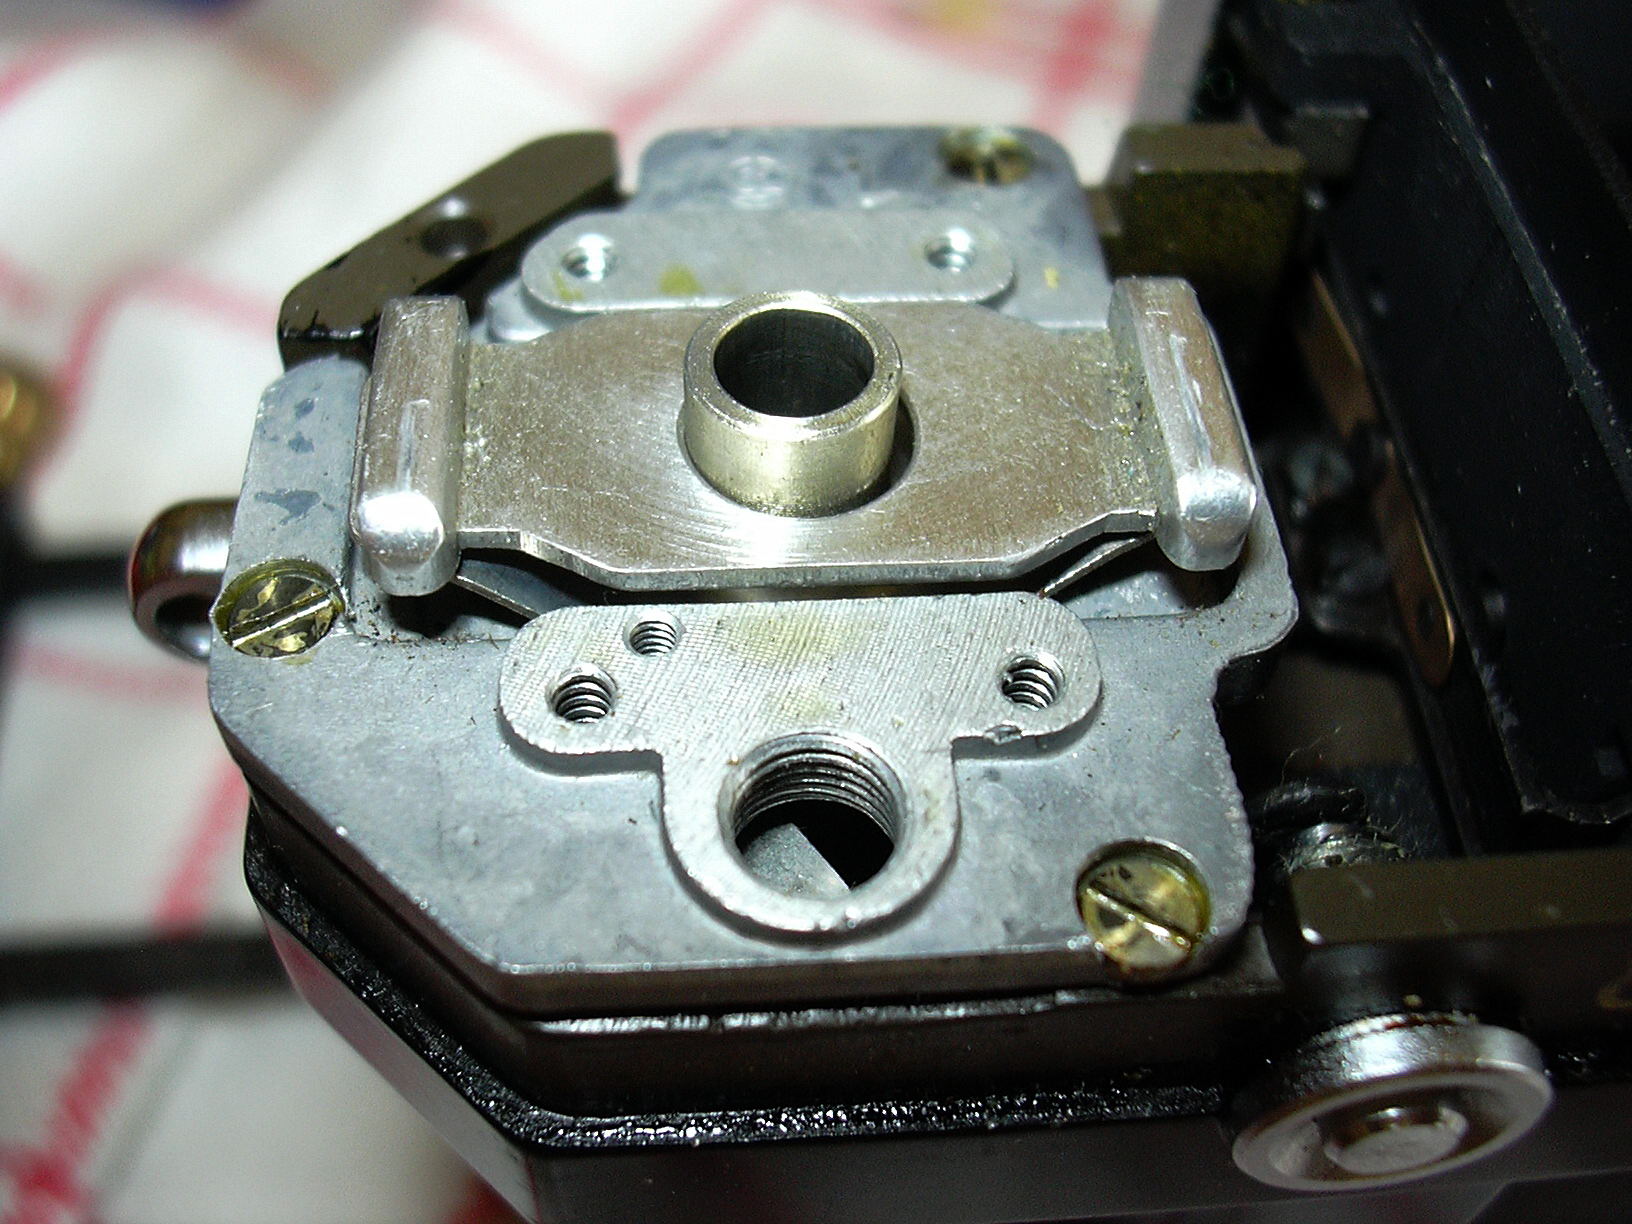
because it looks better! It is not difficult to disassemble the right top of a Nikon F. The knob on top of the frame counter can be lifted off after removing three setscrews at its side. Take the two rings under it off and unscrew the three screws of the advance lever. Take off the advance lever. Inside the A-R collar, around the release button, you´ll see a retaining ring which has to be removed with small pliers. In some models you have to turn the A-R collar to find a setscrew through the little hole in the side of the collar. The shutter speed selector knob has two screws on top, which has to be removed. In the left front corner next to the viewfinder there is one screw to be unscrewed. You also have to remove the nameplate on front of the camera. That nameplate is hold by two screws which are not screwed into the camera body but in a little bar behind the nameplate. Two top screws of the bezel have to be removed and the bezel should be lifted a bit to loosen the right top plate of the camera. If you have disassembled all as written above you will see this (see below)
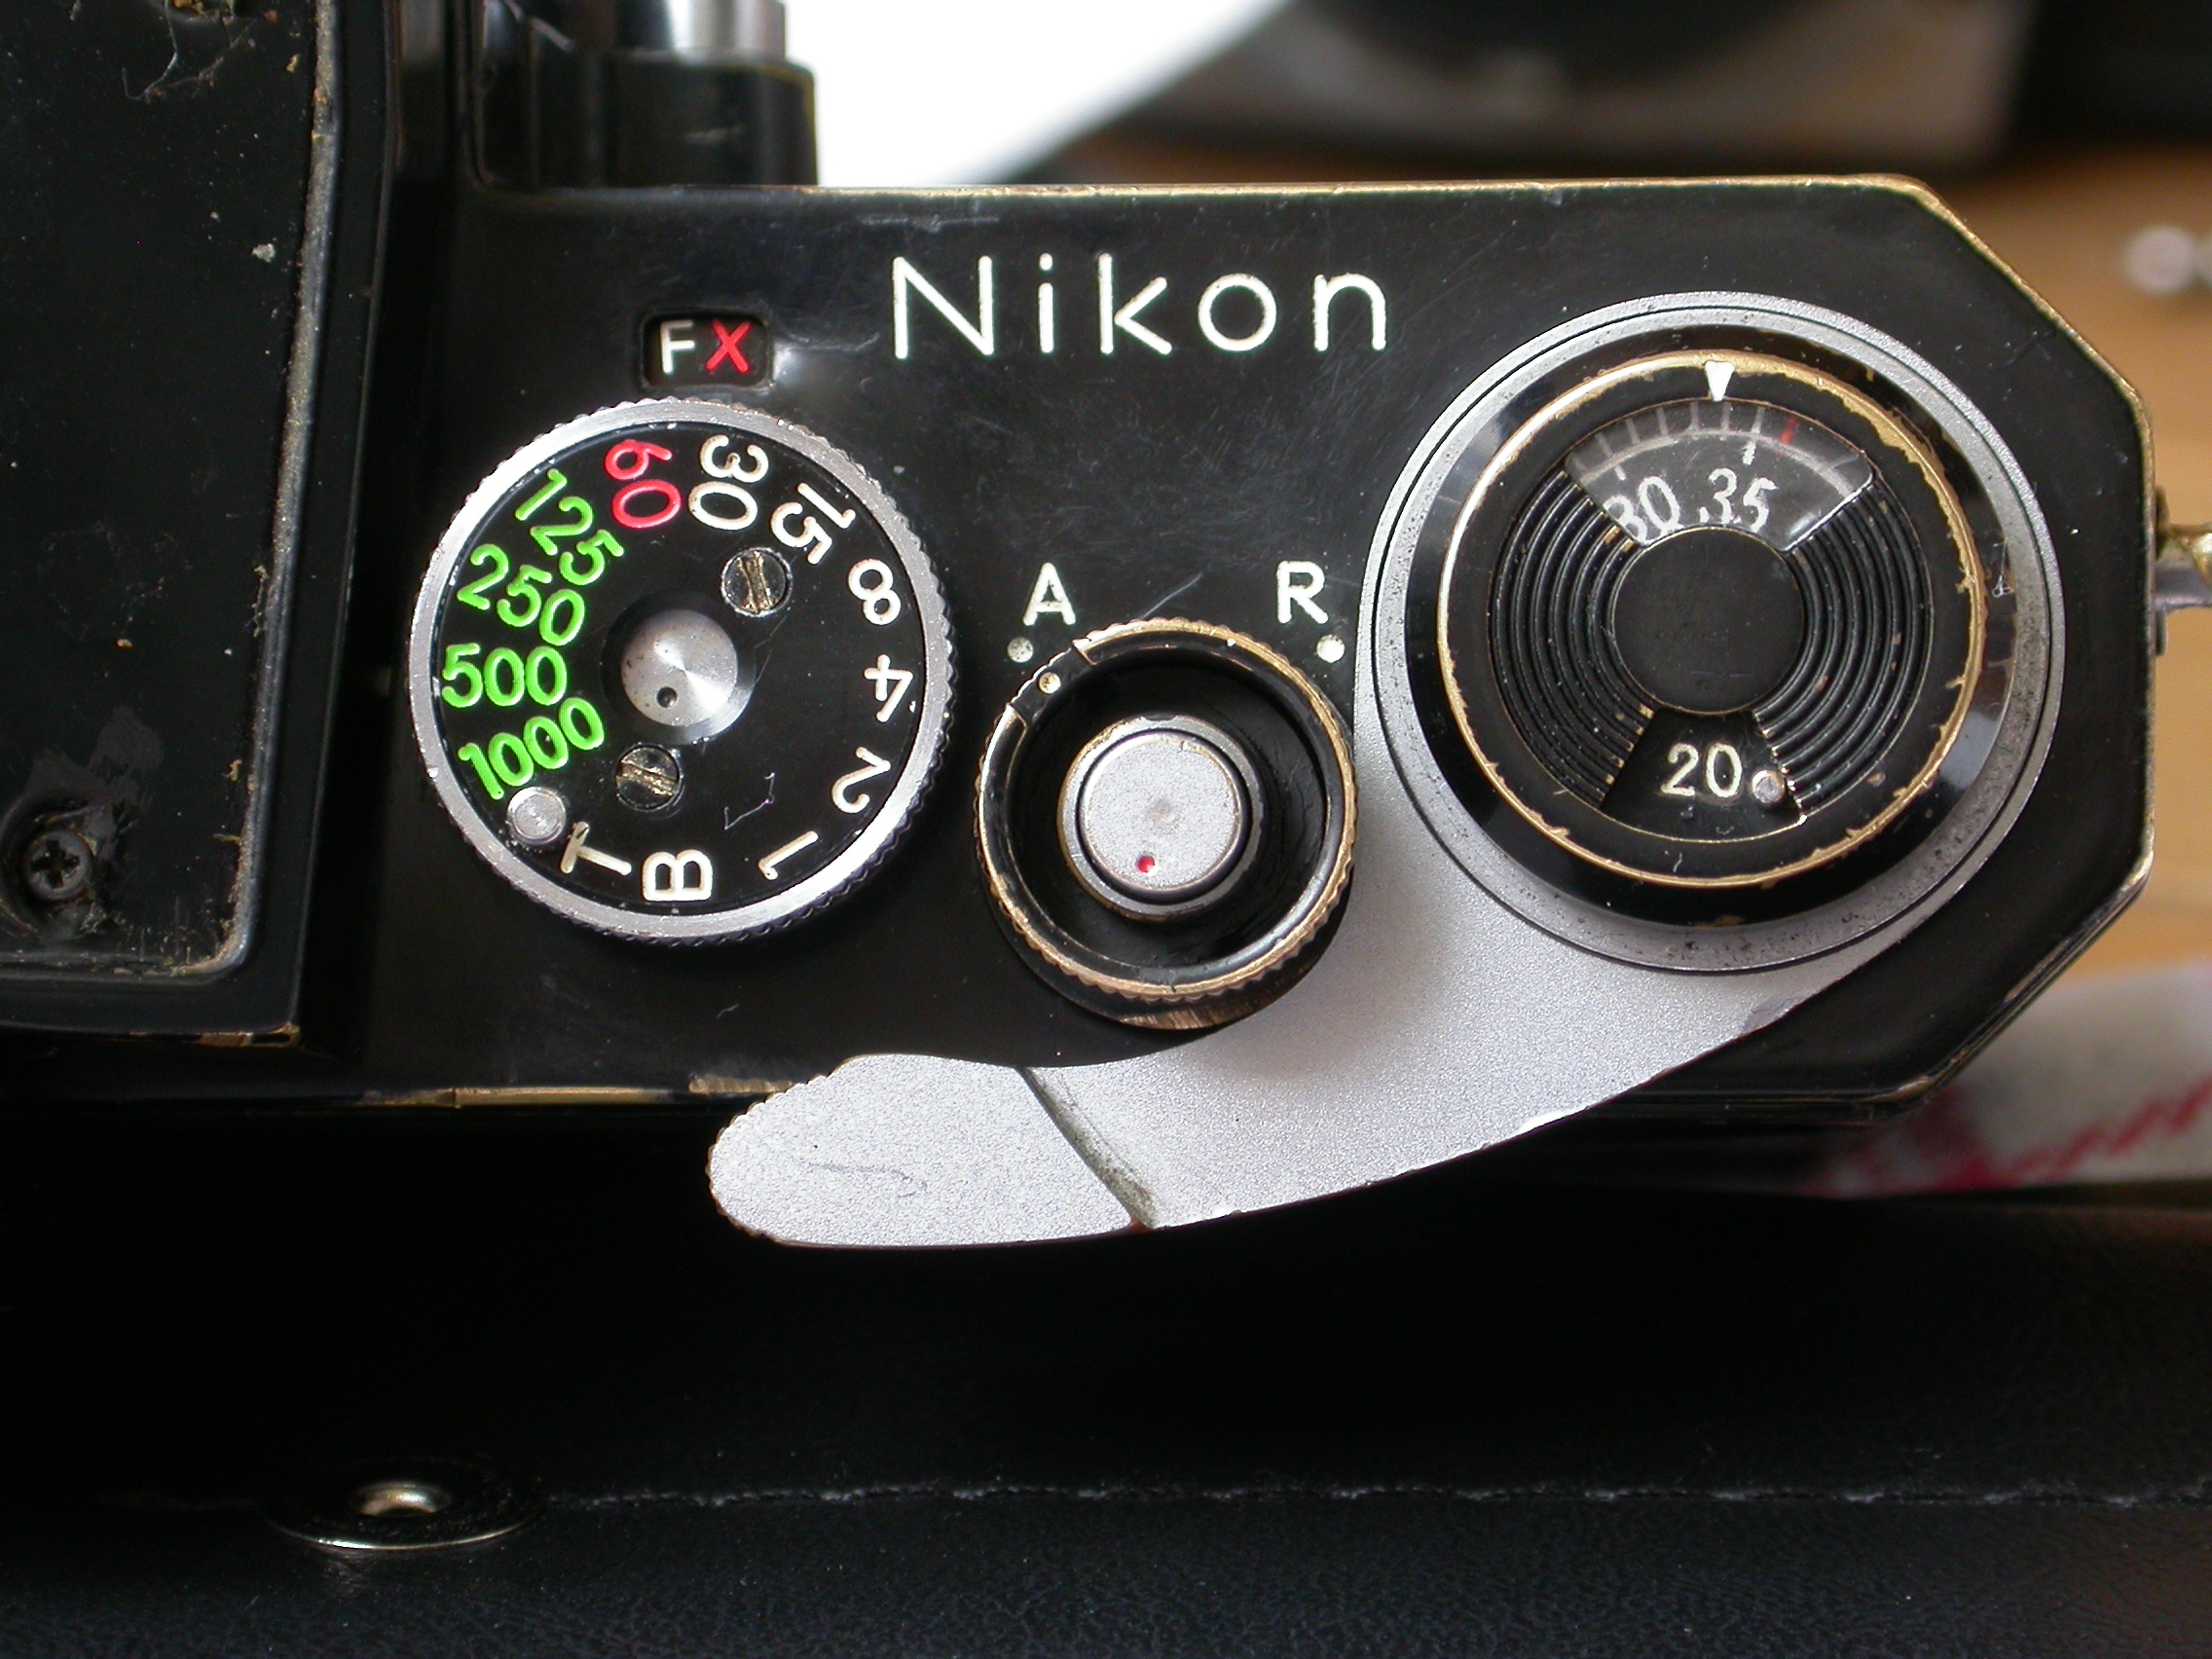
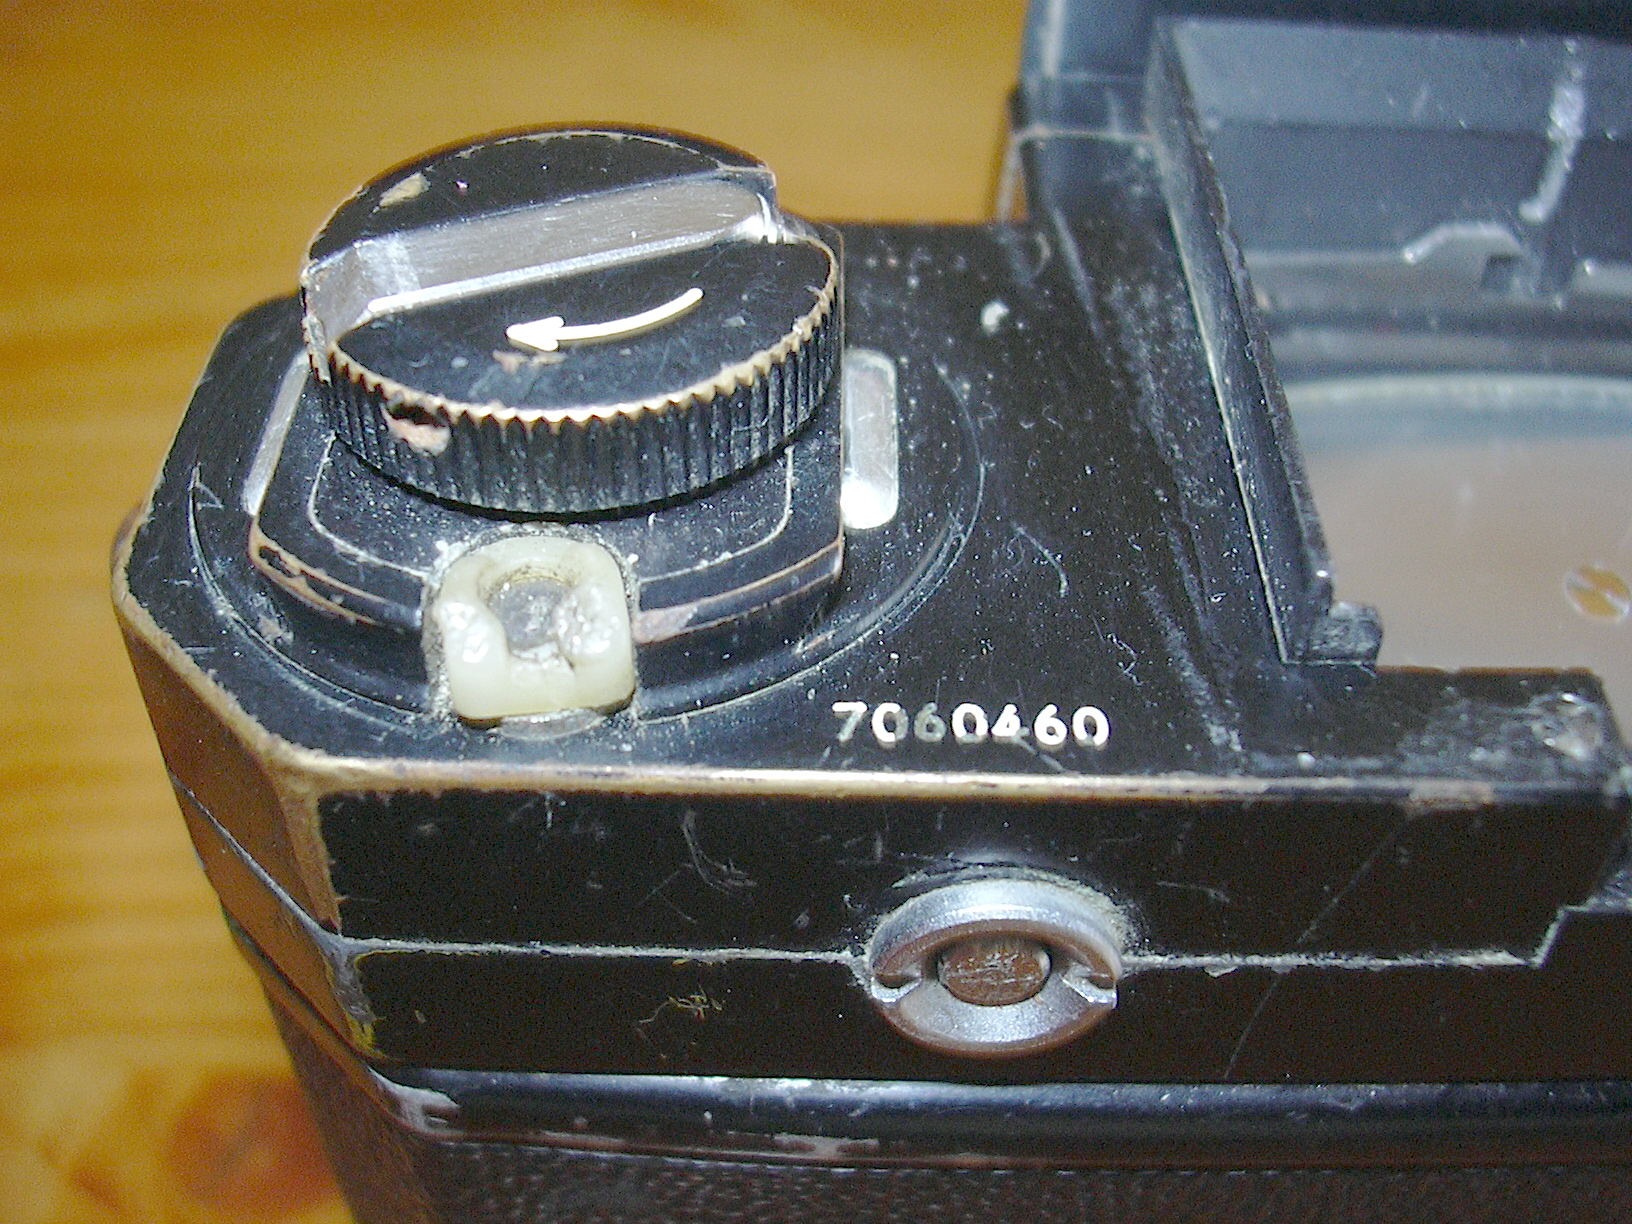
1. shutter speed selector; 2. shutter release button; 3. film advance lever. After nearly 40 years quite dirty!! Write down what you are doing, if you are uncertain. Put all screws and ring together on a paper or towel, so that all screws come back in the same/original place. Take a (tooth) brush to clean everything, check the (glued) glass under the little window of the flash selector; the knob on top of the frame counter has (should have) just one glass (in the largest window). At the right side of the advance lever in the body you'll find a screw that holds the strap lug. Re-assemble everything in reverse.
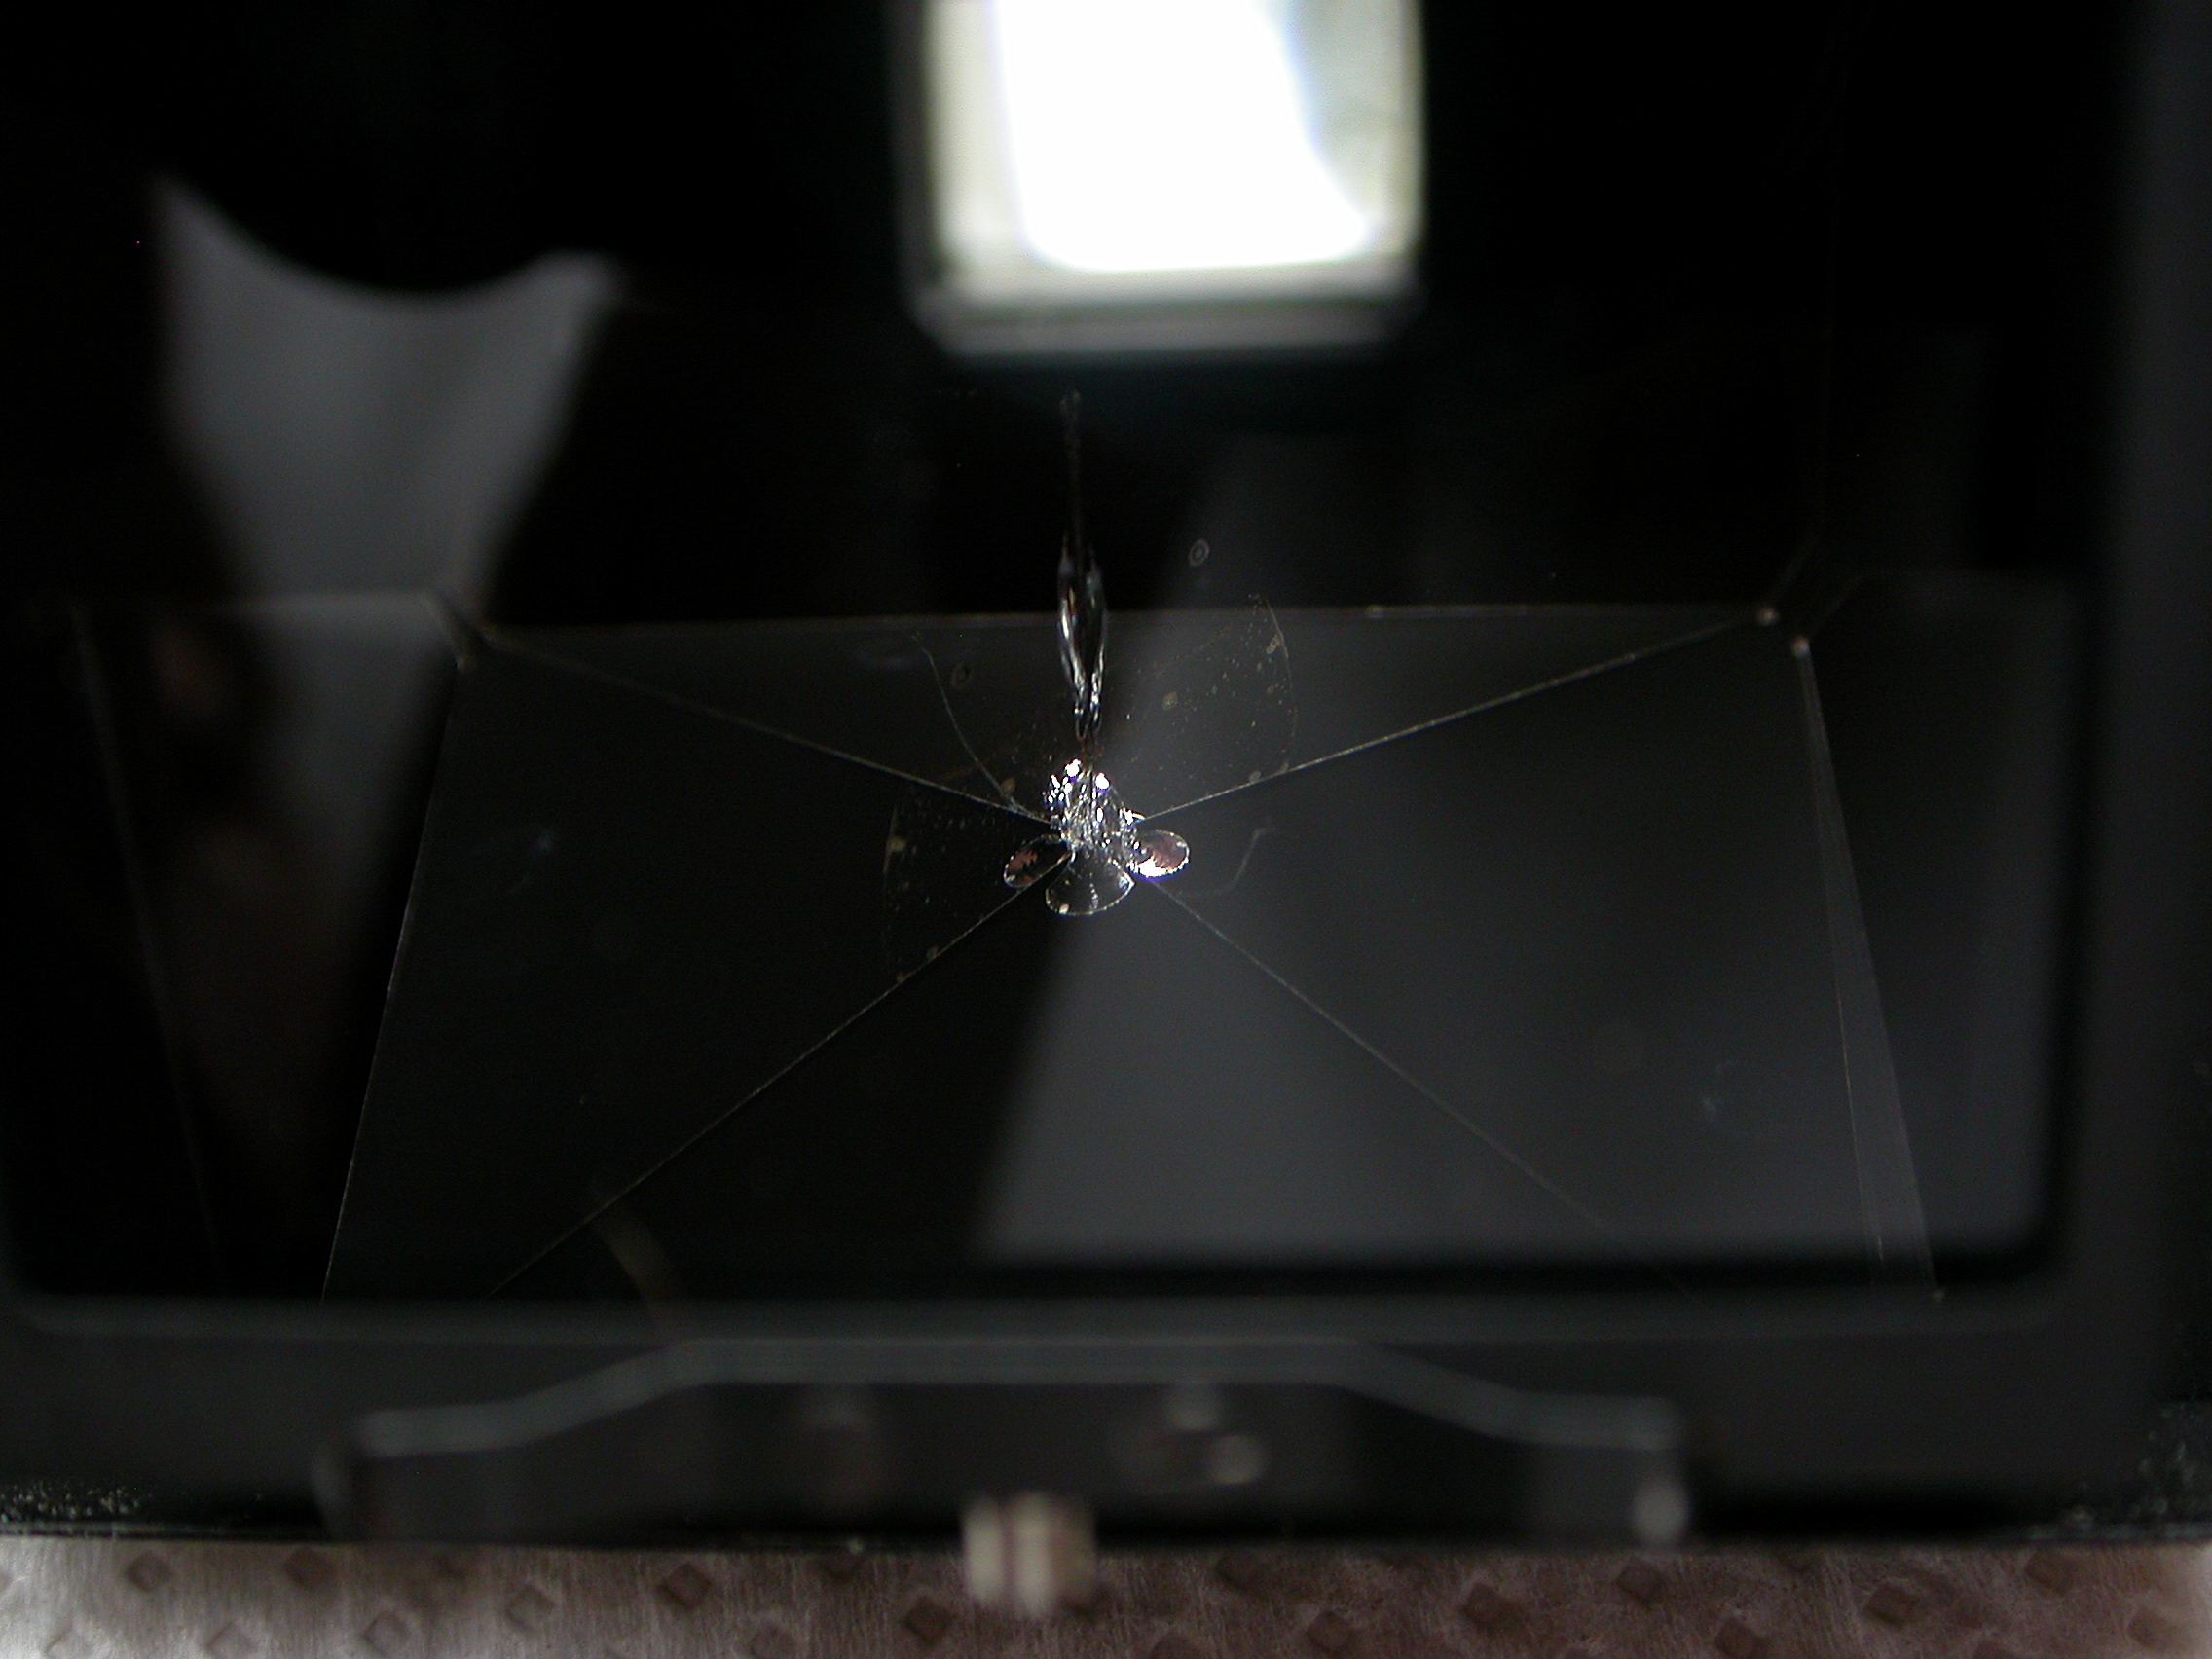
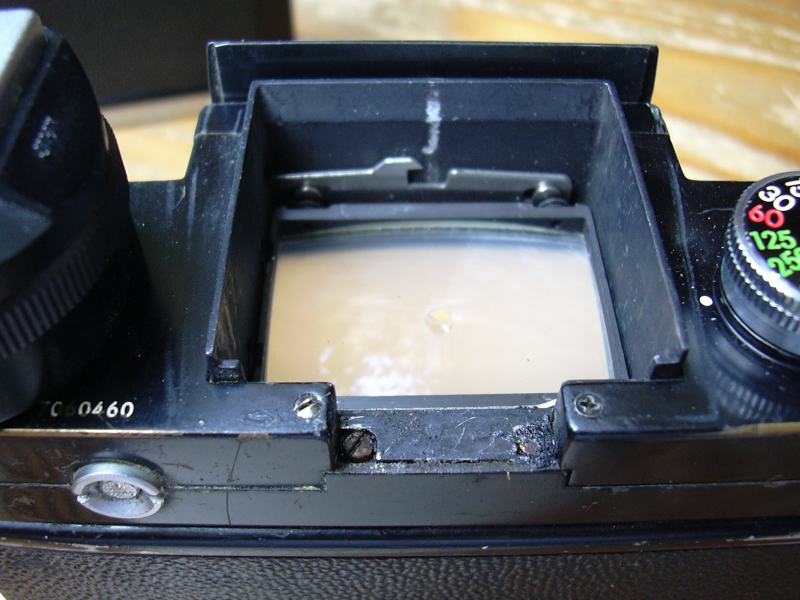
The prism is damaged, thus has to be replaced It is not difficult to replace a prism, but first you have to find a replacement. The prism in the eye-level finder has the same size as the prisms in the early Nikkormat cameras. On camera fairs or in internet Nikkormats are often offered for a low price, because they are wrecked, not working or for any other reason. Check the prism carefully before buying one; remove the top plate by unscrewing all buttons and knobs (rewind knob is hold by one setscrew and can be screwed off counterclockwise by holding the film cassette claw; the shutter speed dial has some setscrews and the advance lever a top plate that can be removed with a rubber stop or cork; with a pliers set the rings can be removed. Unscrew at the side of the top plate all screws and wiggle the top plate of the camera body. The prism can be removed as described here) The eye-level view finder can be opened by unscrewing the 4 screws which can be found under the leatherette on top of it. If you removed the top cap you will see this (see below)
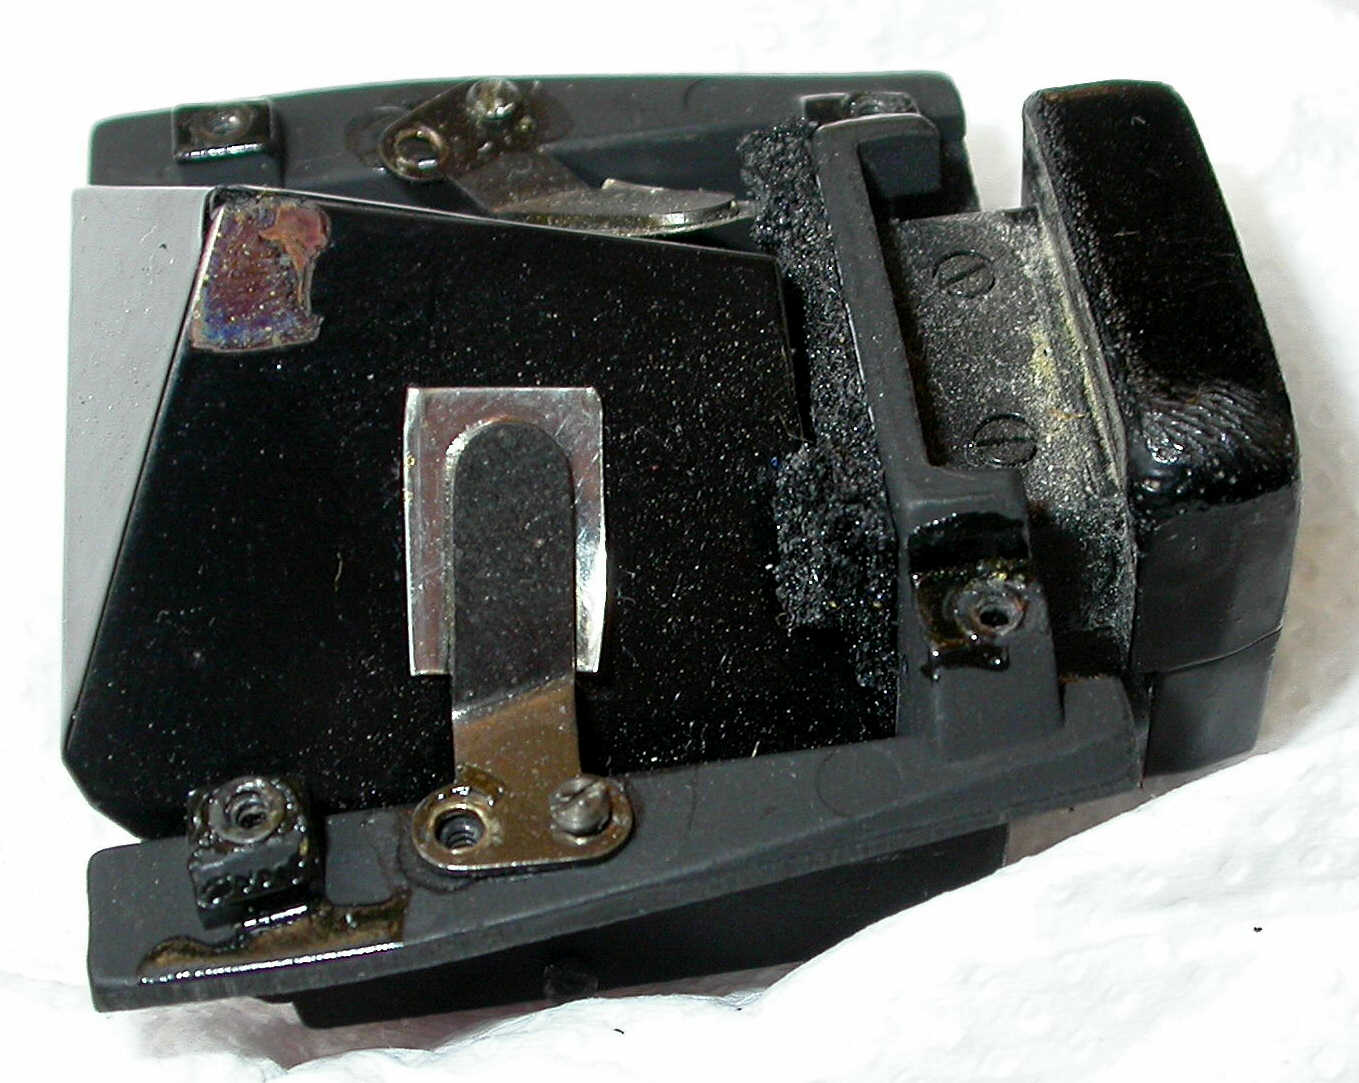
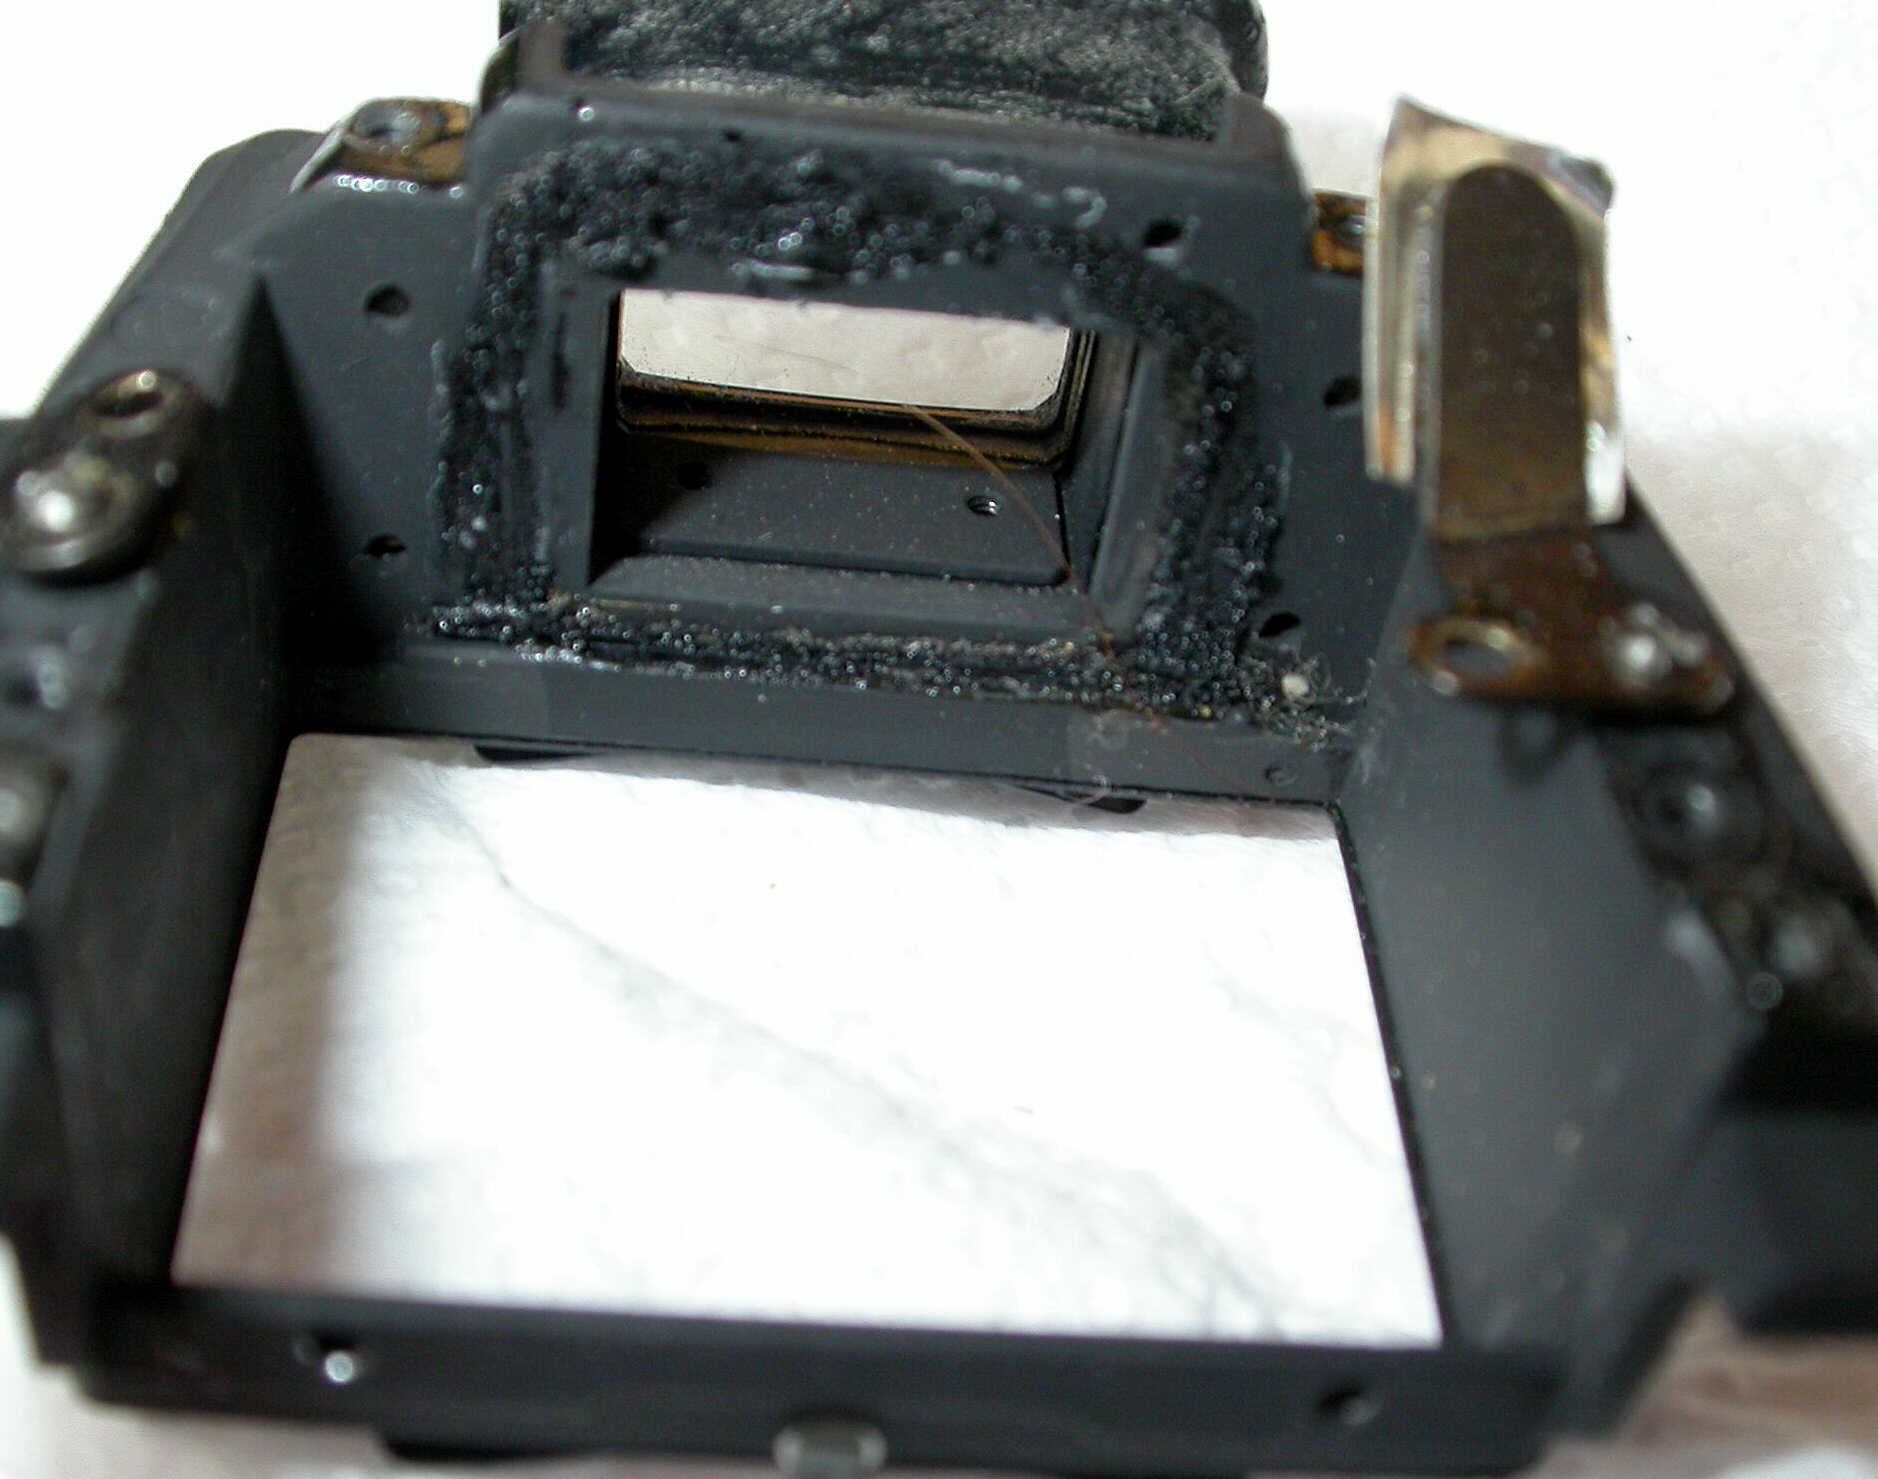
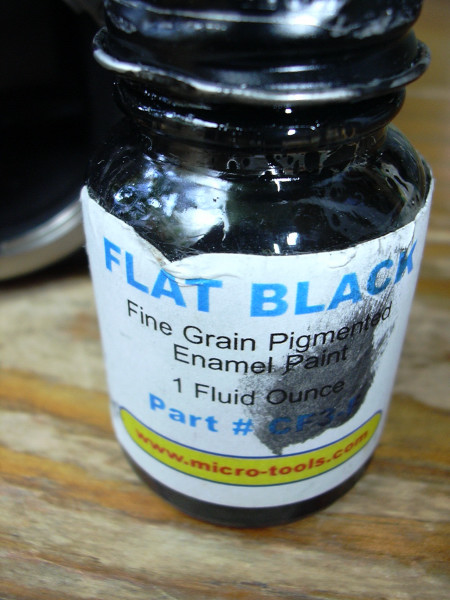
The (damaged) prism is hold in its position by two clamps, each of which have two screws. (Don´t loose the two rings on the front screw holes of the top cap). After unscrewing the four screws of the clamps the prism can be taken of. At the side of the ocular (viewfinder window) all foam is dried out (softener in the foam evaporated). Take it all off and replace it by some new foam (damper foam for furniture or doors) which can be found in any tool shop. If you are going to use a prism with a little spot on its top, but from inside it looks clean, paint the top of the prism with a little drip of ´flat black´ fine grain pigmented enamel (non-gloss) paint. If you have taken of the prism you´ll (hopefully) see this (see below). Note: Most primer you can buy in a paint shop is mat!
After cleaning the prism holder, replacing the foam and cleaning the inside of the viewfinder window glass you may place back the new prism; put back the prism clamps and their screws. Put back the top cap, fasten the four screws and glue back the leatherette after you've removed older glue. If everything has been fitted as described your eye-level prism is like new.
To take off the left top cover you should first remove the little setscrew on the rewind crank, after that: unscrew the rewind crank by holding the film cassette grip. After removing the crank you'll see two little screws; unscrew them and lift off the plate they are holding. A larger plate will be visible with 4 screws (same length), which should be unscrewed. Lift off that plate and take off the pressured contact slides of the accessory shoe. Now unscrew the flash contact ring.
Now it is possible to lift the left top cover, after unscrewing the screw at the right edge near the viewfinder and the screw at the left top front corner of the bezel. Push that corner a bit to lift the top cover. After lifting the top cover another plate with 3 screws (same length) will be seen. After unscrewing the 3 screws beware of the flash contact wires underneath. Now it possible to repair the flash contact or the viewfinder release pin from inside.
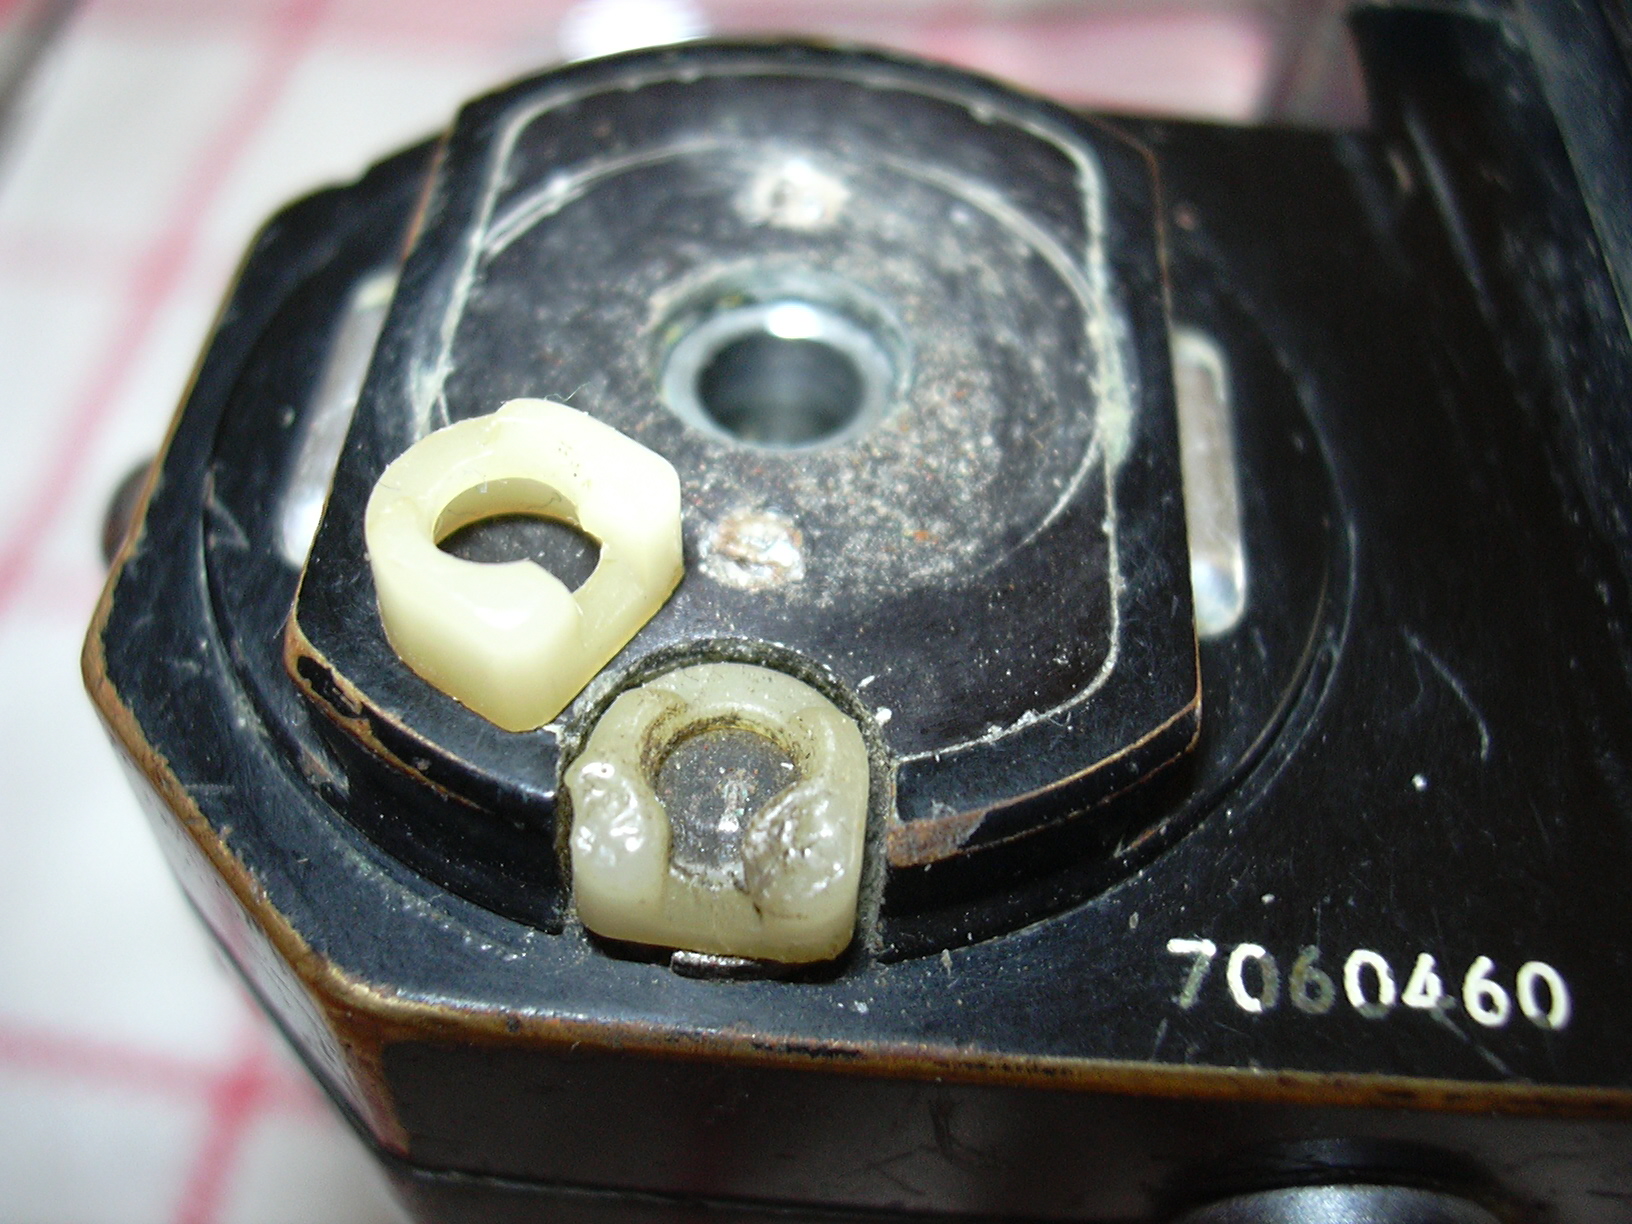
A damaged nylon ring of the flash contact can be replaced by a new one after removing the left top. But where to find a new one? Auction sites on the internet or on wrecked camera bodies, maybe!
Rubber problems in the lens mount
Older SLR cameras have the problem that rubber parts are dry or pulverize. Especially at the front lens mount above the mirror. This rubber can be removed with some alcohol or sticker remover. It can be replaced by a thin strip of rubber of 4 cm. (1.5 inch) long and 4 mm. wide. That rubber is just for cushioning the mirror, not for making the camera light tight.
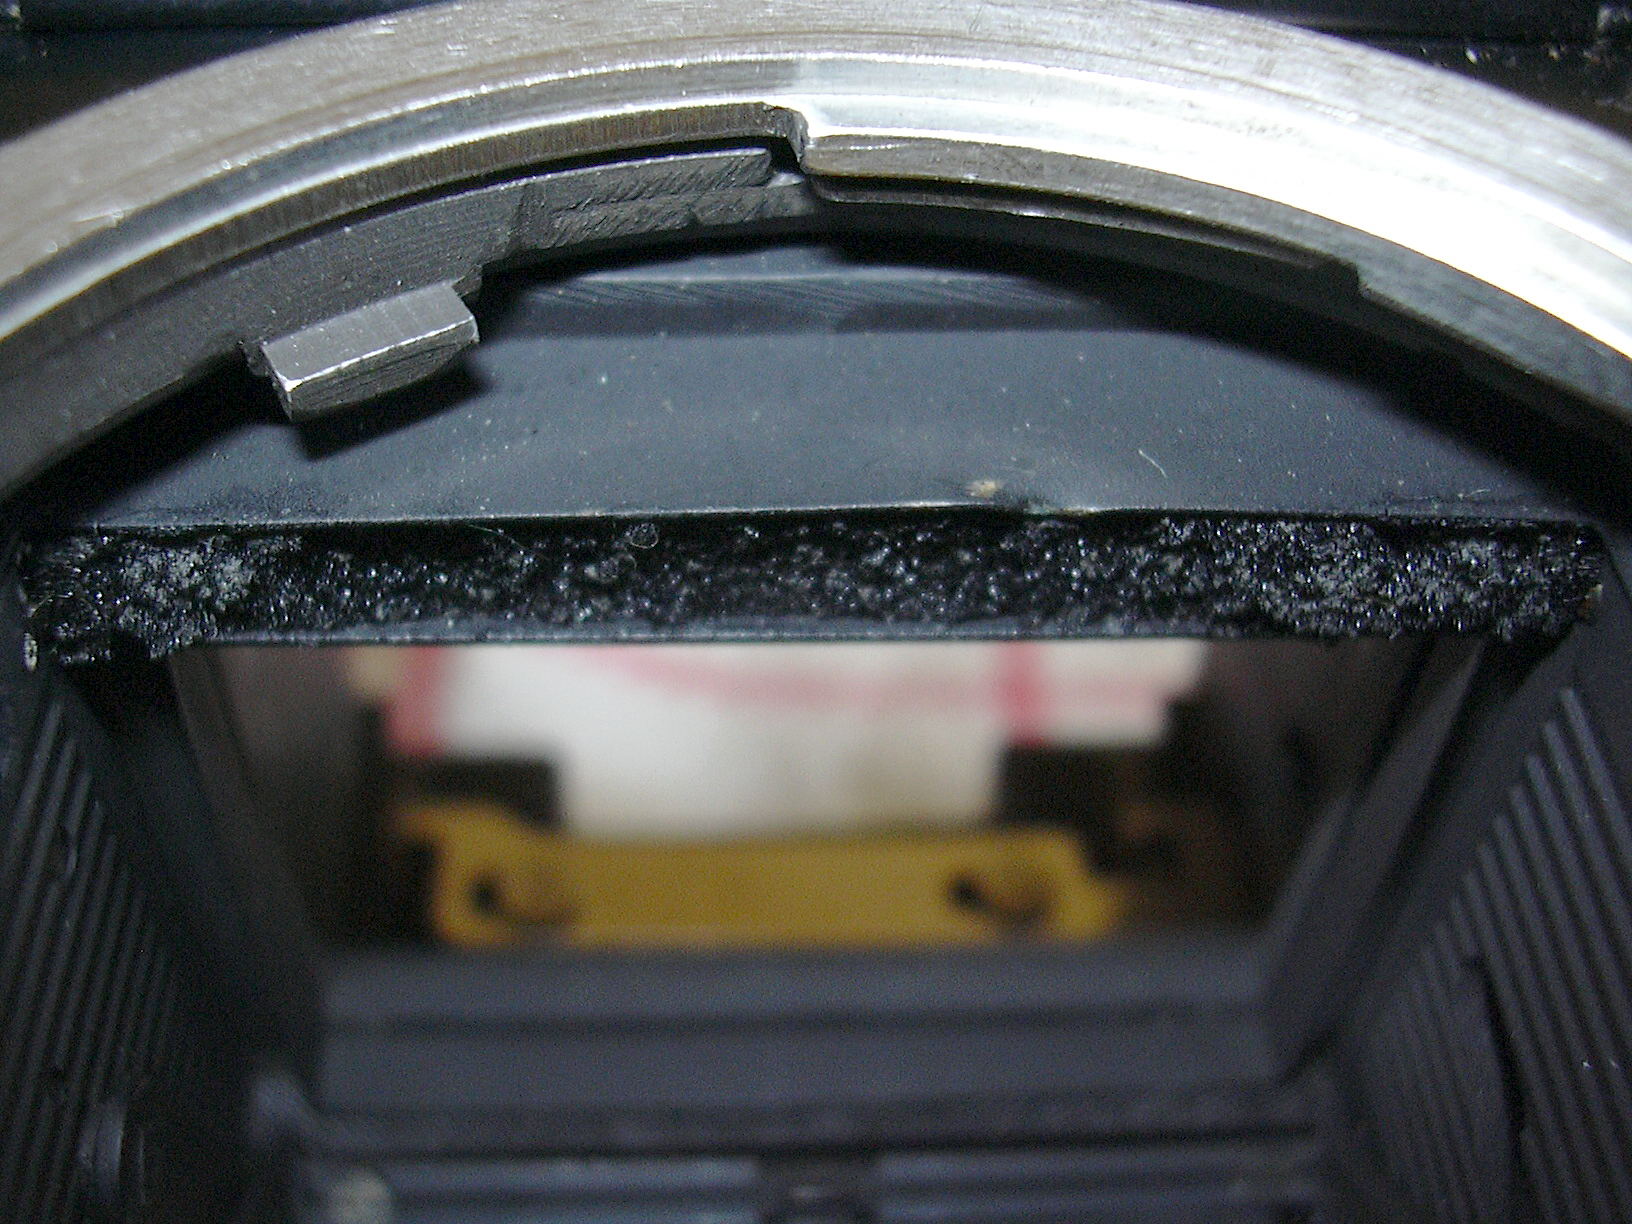
There is another piece of rubber that has to be replaced: At the back rim of the viewfinder there is a rubber strip of 2 cm. x 6 mm.
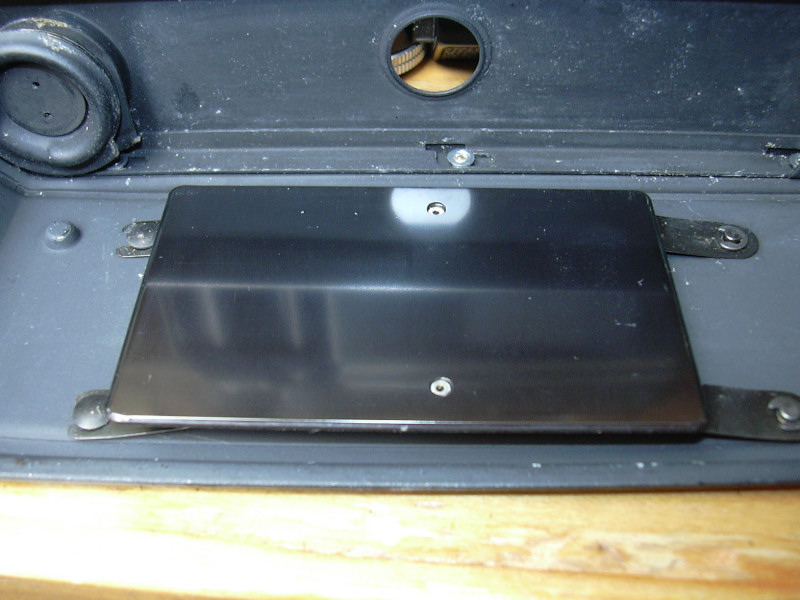
At the inside of the back of the camera the film pressure plate has to be examined, as it can be damaged. Any damage, like scratches or a burr, may ruin a film and thus a picture. Carefully remove rough spots or burrs with the finest sandpaper you can get and repaint that spot. Better is to replace the pressure plate by a plate found in a parts body. The plates are easy to remove by lifting (here) the left side and remove the two clamps at the right side.
To (re)paint or not to (re)paint? As one can see from the pictures the victim black Nikon F has lost a lot of paint. The question now is to repaint the camera or not. Many collectors do want to keep the camera in its original shape, others want it as new. The latter you can forget, as you'll never get the camera in a condition when it was new. So, it is up to you whether to repaint a camera or not. Note: Any paint can be flammable and vapors are harmful or fatal if swallowed; use it with adequate ventilation; it may also produce an allergic reaction.
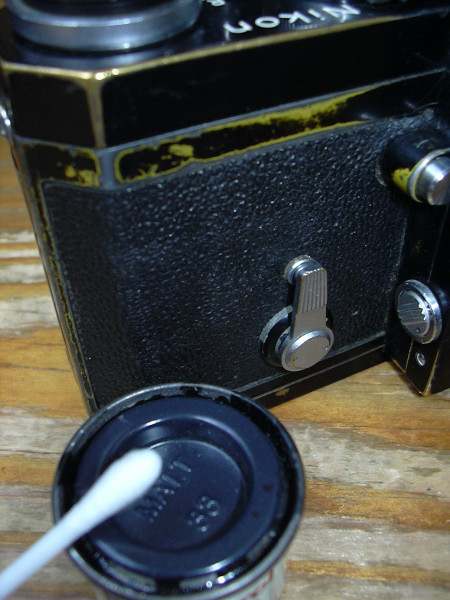
To paint exterior parts of a camera use black enamel paint. It is better not to use a brush. A cotton bud (aka Q-tip) is far better.
For inside use flat black enamel paint or a mat primer. This paint will not reflect light; it is the best for repainting e.g. the mirror house and the inside of the back of the camera.
Going inside ! To open the bottom of the camera body remove the four slot screws at the corners of the base plate of the camera body. All four screws have the same length!
On the base plate the tripod connector can be found. If the thread has been damaged, the connecter can be removed by unscrewing it. In an old body for parts you'll find a proper tripod connector for replacement. On the bottom of the camera body the mechanical parts of the shutter can be seen. The two (adjustable) screws at the left are to adjust the two shutter curtains. Before indicating their purpose a few words about the shutter. The shutter in the Nikon F camera is a so called focal plane shutter. It consists of two drums (left and right). There are two shutter curtains that travel from the left to the right drum when triggered. The traveling speed of the two curtains doesn't vary; the gap/space between the two curtains may vary thus the exposure time may vary as well. If a picture has an uneven exposure (darker from one side to the other side or v.v.) the tension of the curtains has to be adjusted. The two adjustable screws on the left are to adjust the tension of the curtains. The upper screw is for adjusting the first (or opening) curtain, while the lower screw is to adjust the second (or closing) curtain. The latter may need some additional tension as it also pulls the slow speed timer. To replace an entire shutter or shutter curtains is a difficult job. Leave this to a trained repairman.
Although the strap lugs are very strong they can brake! To replace them the top cover and the screw above the lug have to be removed. If you have finished this restoration you may have a nice and clean vintage Nikon F (see below)
. |